Can a built-in induction hob be installed above? is a question that many homeowners ponder. However, the ability to install a device that is originally designed to be built-in above the countertop does not depend on the brand or power, but entirely on the size of your kitchen cabinet. As long as you understand the technical standards for heat dissipation and the dimensions of the glass surface below, you can answer your question and smoothly operate your favorite hob right at home!
Can a built-in induction hob be installed above?
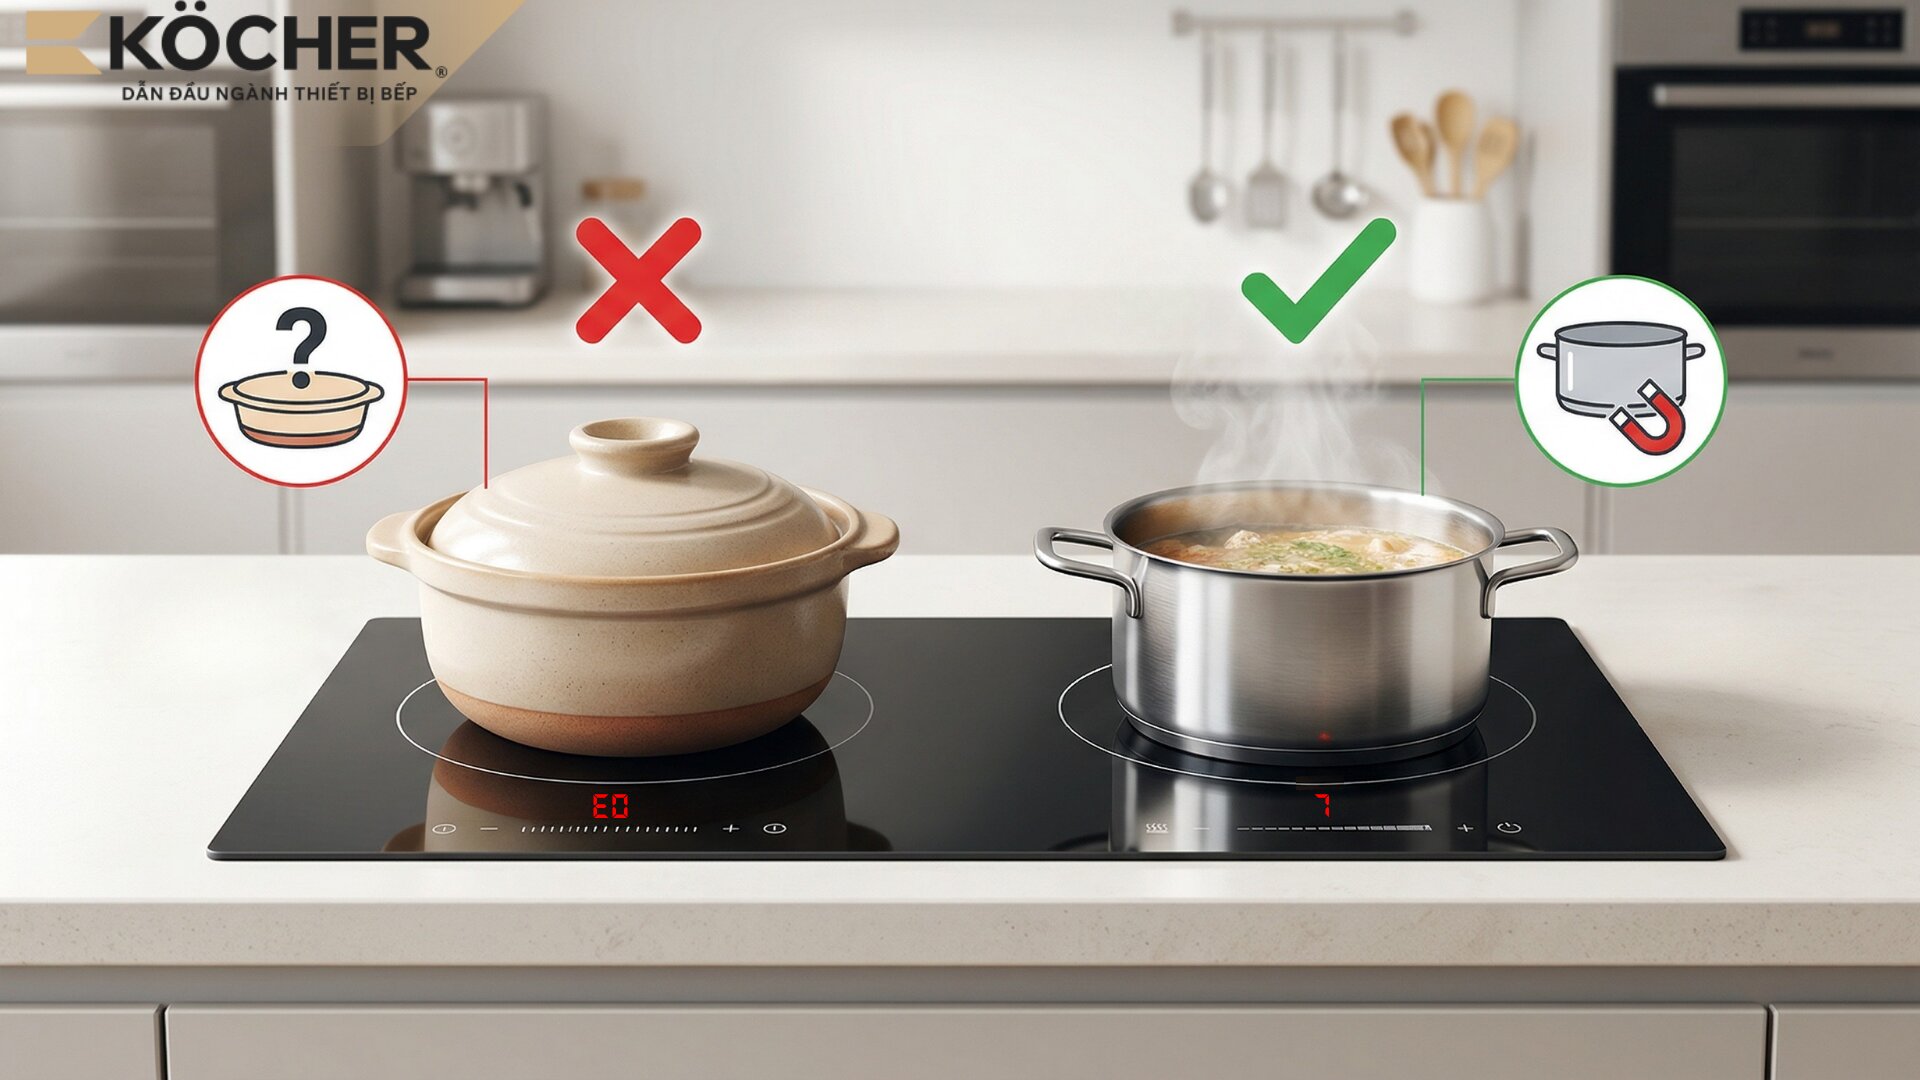
Technically, the answer to the question can a built-in induction hob be installed above is YES. You can completely place a built-in induction hob on the surface of the countertop, as long as you meet the strict standards regarding the dimensions of the built-in induction hob and design a safe heat dissipation system for the device.
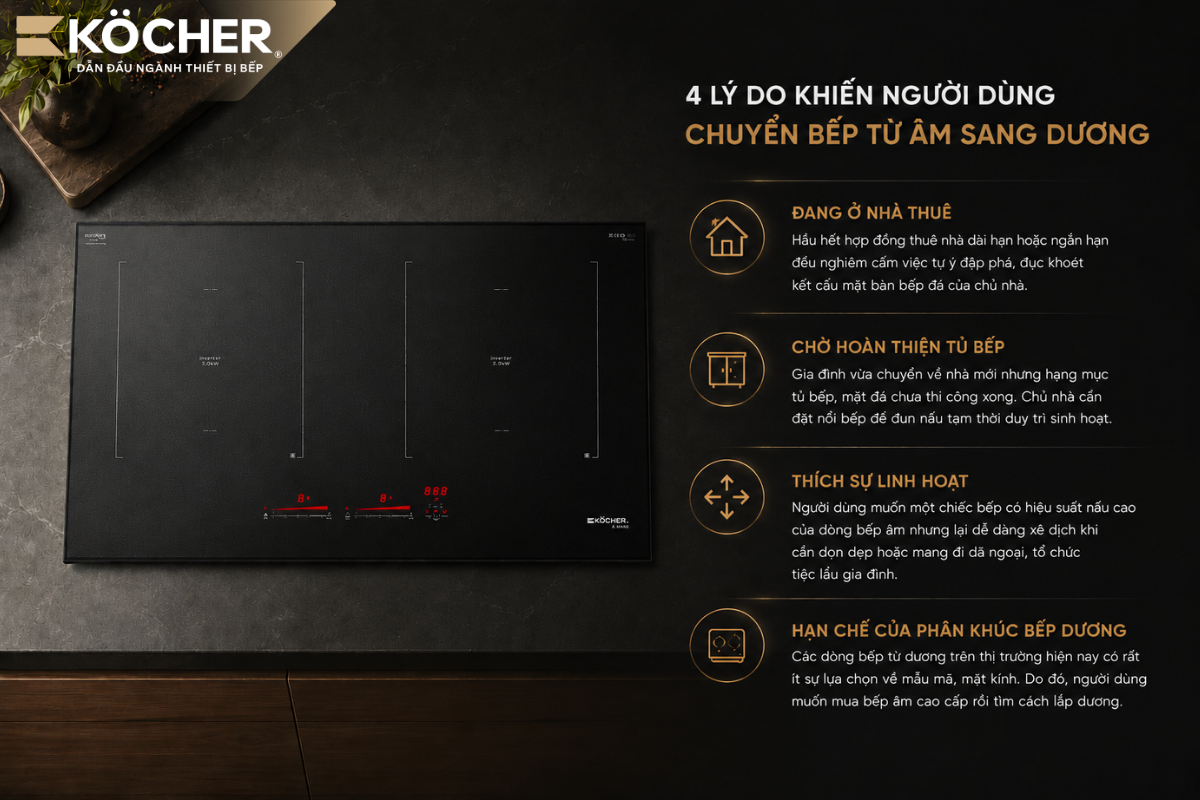
In fact, there are many reasons why consumers want to convert a built-in induction hob to an above-mounted one:
- Renting a house: Most long-term or short-term rental agreements prohibit unauthorized demolition or drilling into the landlord’s stone countertop structure.
- Waiting for kitchen cabinet completion: The family has just moved into a new house, but the kitchen cabinet and stone countertop have not yet been completed. The homeowner needs to place the hob above for temporary cooking to maintain daily activities.
- Desire for flexibility: Users want a high-performance hob from the built-in line but also want it to be easily movable for cleaning or taking on picnics or family hot pot parties.
- Limitations of the above-mounted segment: There are very few options for designs and glass surfaces in the current market for above-mounted induction hobs. Therefore, users want to buy high-end built-in hobs and find ways to install them above.
4 criteria to identify if a built-in induction hob can be installed above
Not every built-in induction hob on the market can be easily converted for above installation. Specifically, the evaluation of whether a built-in induction hob can be installed above is based on the following 4 technical criteria:
Depth of the hob must be greater than or equal to 60% of the width of the glass surface
For a built-in induction hob to be placed above like an above-mounted hob while still standing firm, the depth of the hob must be sufficient, at least 60% of the width of the glass surface. For example, a double hob with a glass surface width of 450 mm, if the depth of the hob is 270 mm or more (≈ 60% of the width), the hob can be placed above balanced thanks to the hob’s depth acting as a support axis.
 For a built-in induction hob to be placed above like an above-mounted hob while still standing firm, the depth of the hob must be sufficient, at least 60% of the width of the glass surface
The edge of the glass surface must be wide enough (≥ 15mm) to protect the hob
When placing a built-in induction hob above the countertop without built-in installation, without using a stainless steel frame, the edge of the glass needs to be wide enough to shield and protect the hob from grease and splashes. An edge of ≥ 15mm helps the hob stand firm, reducing the risk of slipping or damaging components due to external impacts, while ensuring safety during cooking.
 The edge of the glass must be wide enough to rest on the support frame
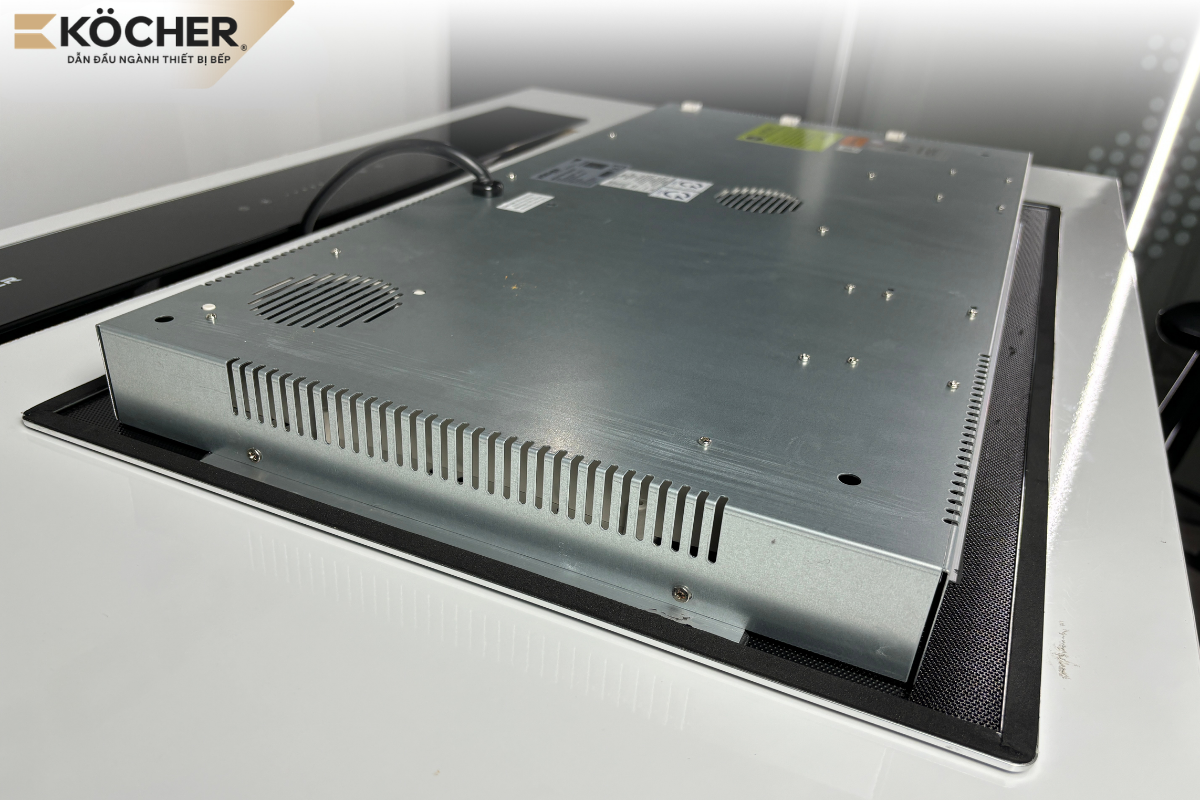
There must be heat dissipation vents on the side or bottom of the hob
When installed properly, the heat from the circuit board will be blown down into a spacious cabinet. However, when you implement the above-mounted built-in induction hob solution, the space under the hob is significantly reduced. Therefore, the ability of the system to dissipate heat on its own is a vital factor for the longevity of the hob.
Identifying suitable hobs for above installation: Hobs designed with smart ventilation slots along the sides of the hob, combined with a cooling fan blowing air out from the bottom side.
You can check by shining a flashlight into the sides and bottom of the built-in induction hob, or refer to the installation guide included in the ventilation section.
The manufacturer clearly states support for above installation in the technical documentation
In the introduction catalog or technical manual, the manufacturer will clearly state: “Design supports above installation” or “Can be installed above the countertop”.
If your hob is a purely built-in model and does not have this information, you need to evaluate based on the 3 technical criteria mentioned above.
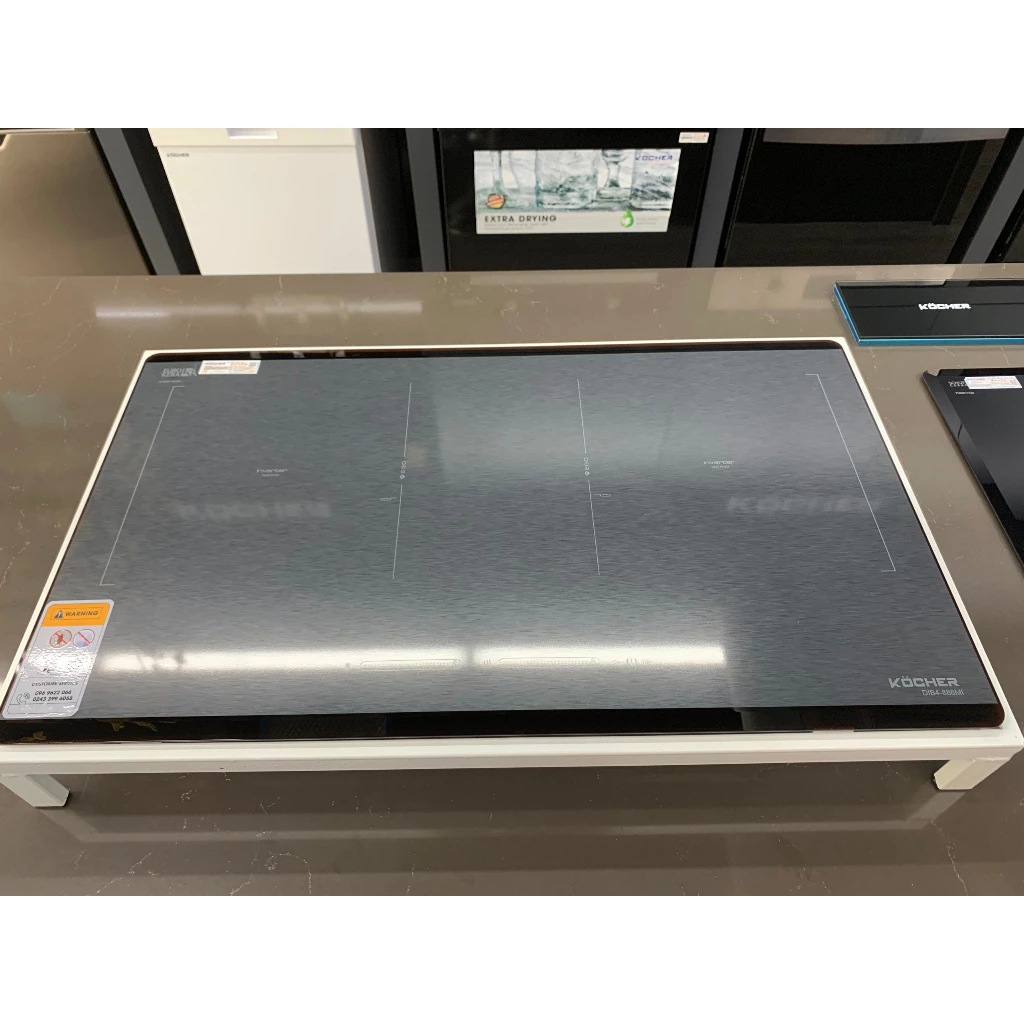
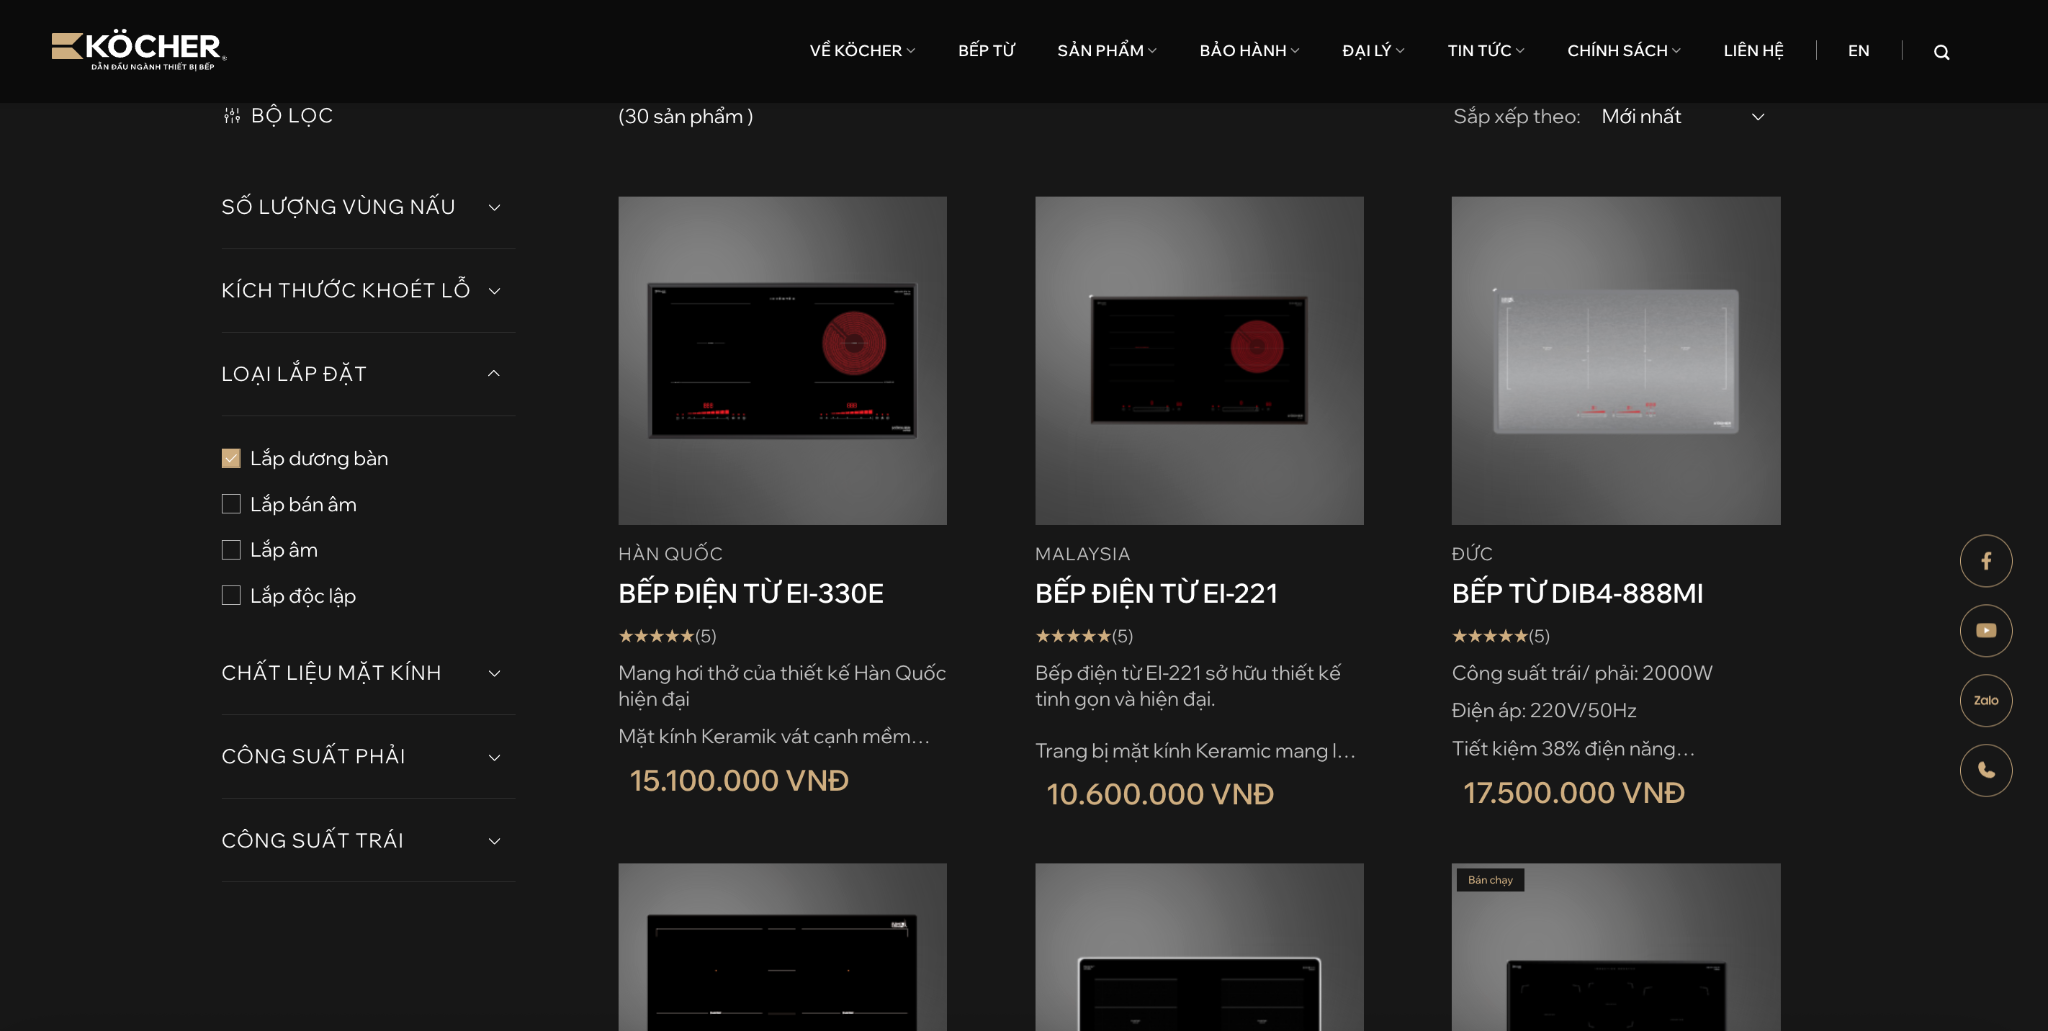 List of hobs ‘installed above the countertop’ on the Köcher website
IMPORTANT WARNING ABOUT WARRANTY POLICY
If the manufacturer does not integrate or support the above installation option in the original design of that model and the user still intentionally customizes the installation frame, your device will be completely denied warranty in case of technical issues. Any malfunctions arising from incorrect installation: including circuit board errors due to overheating, short circuits of internal components, or cracks in the glass surface due to uneven stress distribution.
Important technical criteria when installing a built-in induction hob above
To ensure the operation after converting a built-in induction hob to above-mounted, you need to adhere to the following installation technical standards:
Minimum heat dissipation gap of 20mm under the bottom of the hob
If you place the plastic/metal bottom of the hob directly against the glass or wooden surface, the airflow will be blocked. After just 5 – 10 minutes of operation, the hob will overheat, report system overheating errors (such as E0, E1, E2 errors), and may cause damage to the circuit board. The optimal solution is to choose a stainless steel frame for above-mounted induction hobs designed with a base height of at least 20mm or more.
Use a separate circuit breaker
Double built-in induction hobs typically have an operating power level ranging from 3000W to over 4000W when both cooking zones are used simultaneously. Therefore, you must connect the power supply of the hob through a separate circuit breaker (CB) with a capacity of 20A to 30A.
Absolutely do not plug the hob together with other large power-consuming devices in the house such as microwaves, refrigerators, or water heaters. Do not extend the power cord of the hob using non-standard extension cords or plugs.
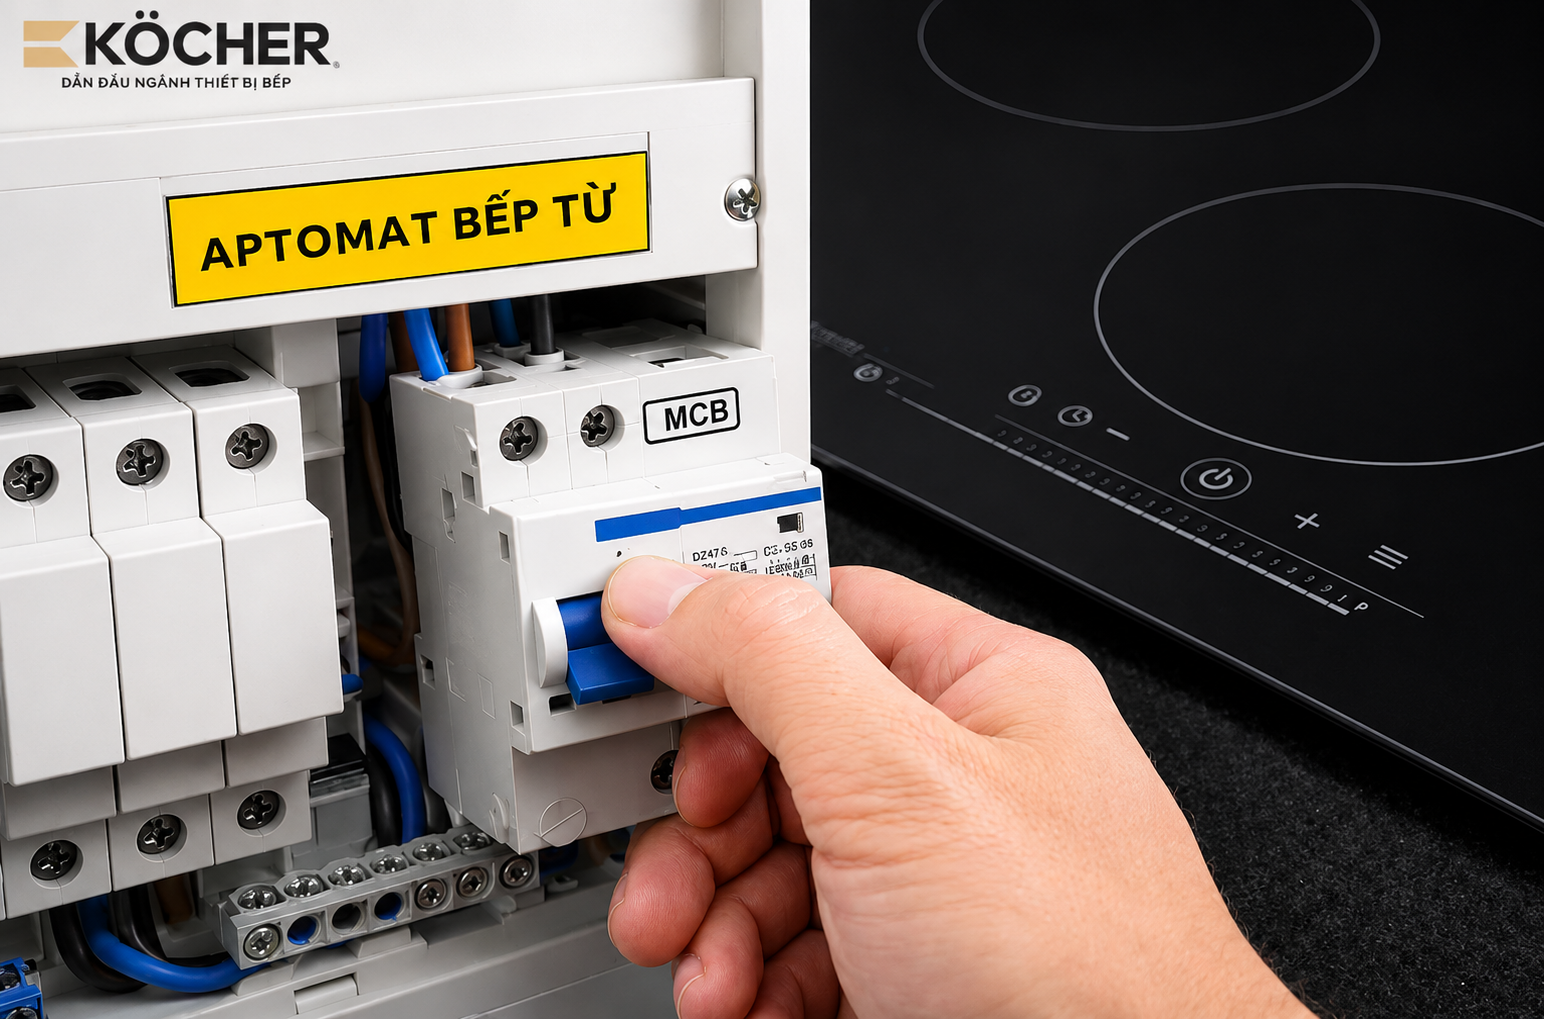 Separate circuit breaker for the induction hob area to ensure electrical safety
Secure the hob firmly
Unlike built-in installation fixed with specialized silicone glue on the stone countertop, a hob placed above using a stainless steel frame is very easy to slip or move when you perform daily cooking tasks such as stirring food, vigorous mixing, or placing heavy pots on the hob.
To prevent this risk, choose stainless steel frames equipped with fixed stainless steel brackets or securely screw the body of the hob to the support frame. The rubber feet under the base of the frame should also have good grip, effectively preventing shaking when the cooling fan operates at high speed.
What to do if the hob does not meet the criteria but you still want to install it above?
If after measuring, you find that your built-in hob has a too thick body, no heat dissipation vents on the side, or the manufacturer specifies not to install it above, you can use a stainless steel support frame.
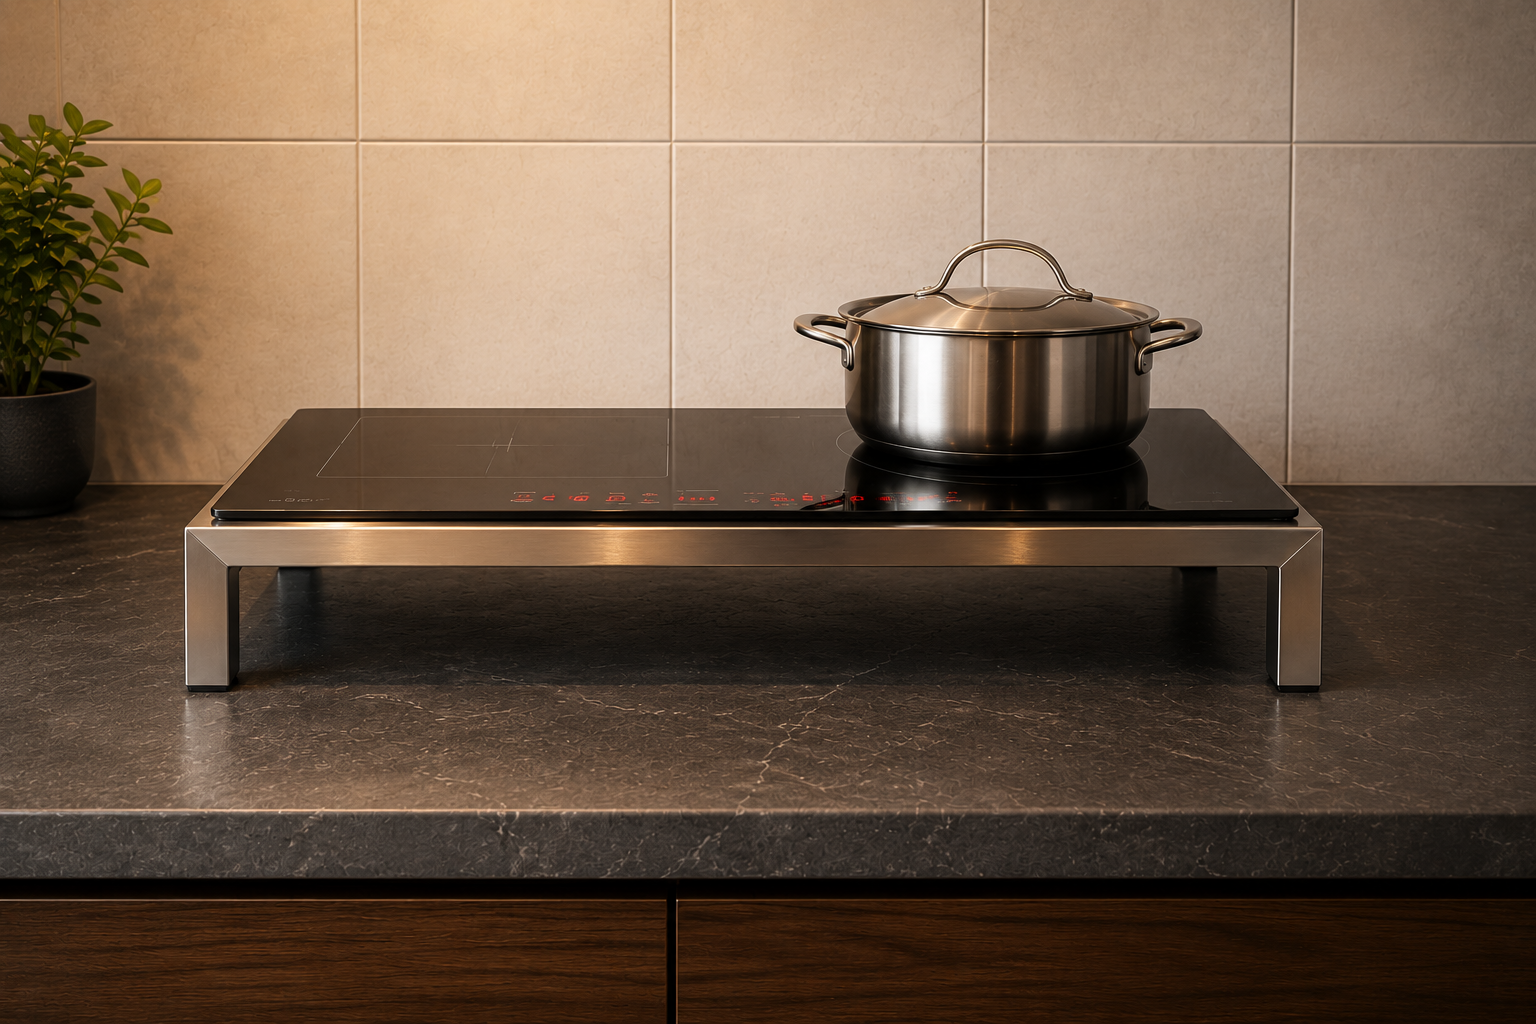 Stainless steel support frame helps convert built-in induction hob to above-mounted
The conversion stainless steel frame acts as a built-in support that bears the entire weight of the hob. The dimensions of the frame must meet the following standards:
- Inner dimensions of the frame: Must be larger than the technical cutout dimensions of the hob to allow the entire hob body to pass through easily.
- Outer dimensions of the frame: Must be smaller than the dimensions of the hob’s glass surface to create a sturdy glass support base.
- Tolerance allowed: Only within ±2 mm.
- Actual cost: Ranges from 300,000 – 700,000 VND depending on the stainless steel material (recommended to use high-quality 304 stainless steel that is rust-resistant in a kitchen environment with salt and grease).
5 notes for safely operating an above-mounted built-in induction hob
After completing the installation of the above-mounted built-in induction hob, to ensure the safety of family members and extend the lifespan of the device, please remember and strictly follow the 5 operating principles below:
Do not block the heat dissipation vents while cooking
Absolutely do not place flammable household items such as rags, tablecloths, plastic baskets, or plastic bags around or directly under the stainless steel frame supporting the hob. Always ensure that the space around the edges and the minimum gap of 20 mm under the hob is always unobstructed, allowing for free airflow.
Check the position of the hob on the frame after each cleaning
During daily cleaning of grease or moving the hob, the glass surface may slightly slip out of its original position. Before turning on the hob for the next cooking session, always use your hand to quickly check if the glass surface is completely balanced and evenly resting on all 4 edges of the support frame. Absolutely do not lift the hob by hand.
Prevent water from entering the hob body
When installed properly, the stone worker will use specialized waterproof silicone to seal the entire edge of the glass. However, when you install it above using a conversion stainless steel frame, small gaps often appear between the tempered glass surface and the edge of the stainless steel frame.
If during cooking, water flows through the gap directly into the built-in induction hob below, it may cause short circuits in the high-power circuit board.
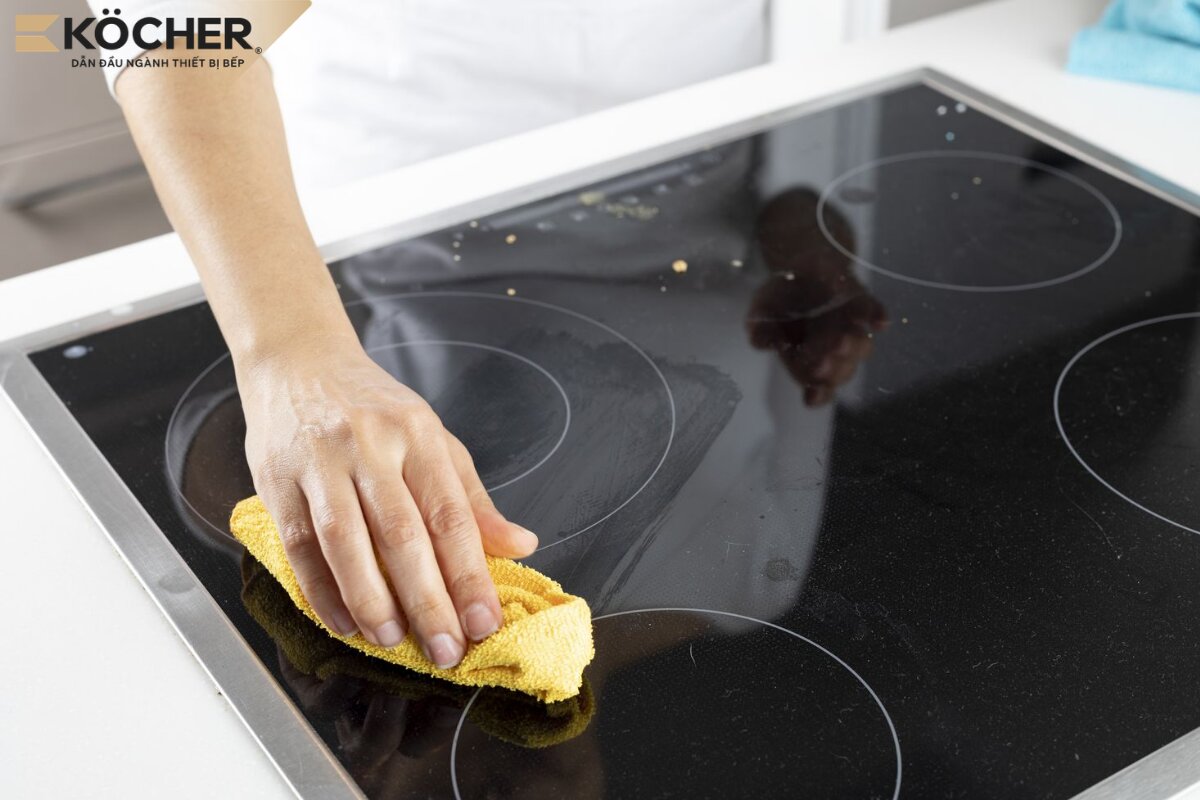
Regularly clean the stainless steel frame after cooking
When placing the hob above the countertop, the amount of grease adhering to the sides of the stainless steel support frame will be significantly more than when you install it flush with the countertop. After each cooking session, use a soft damp cloth soaked in specialized cleaning solution to wipe clean the entire glass surface and the edge of the stainless steel frame to avoid oxidation of grease causing unsightly stains and creating an environment for bacteria to accumulate.
At the same time, check every 3 months to see if the frame’s legs are loose, rusty, or mechanically deformed.
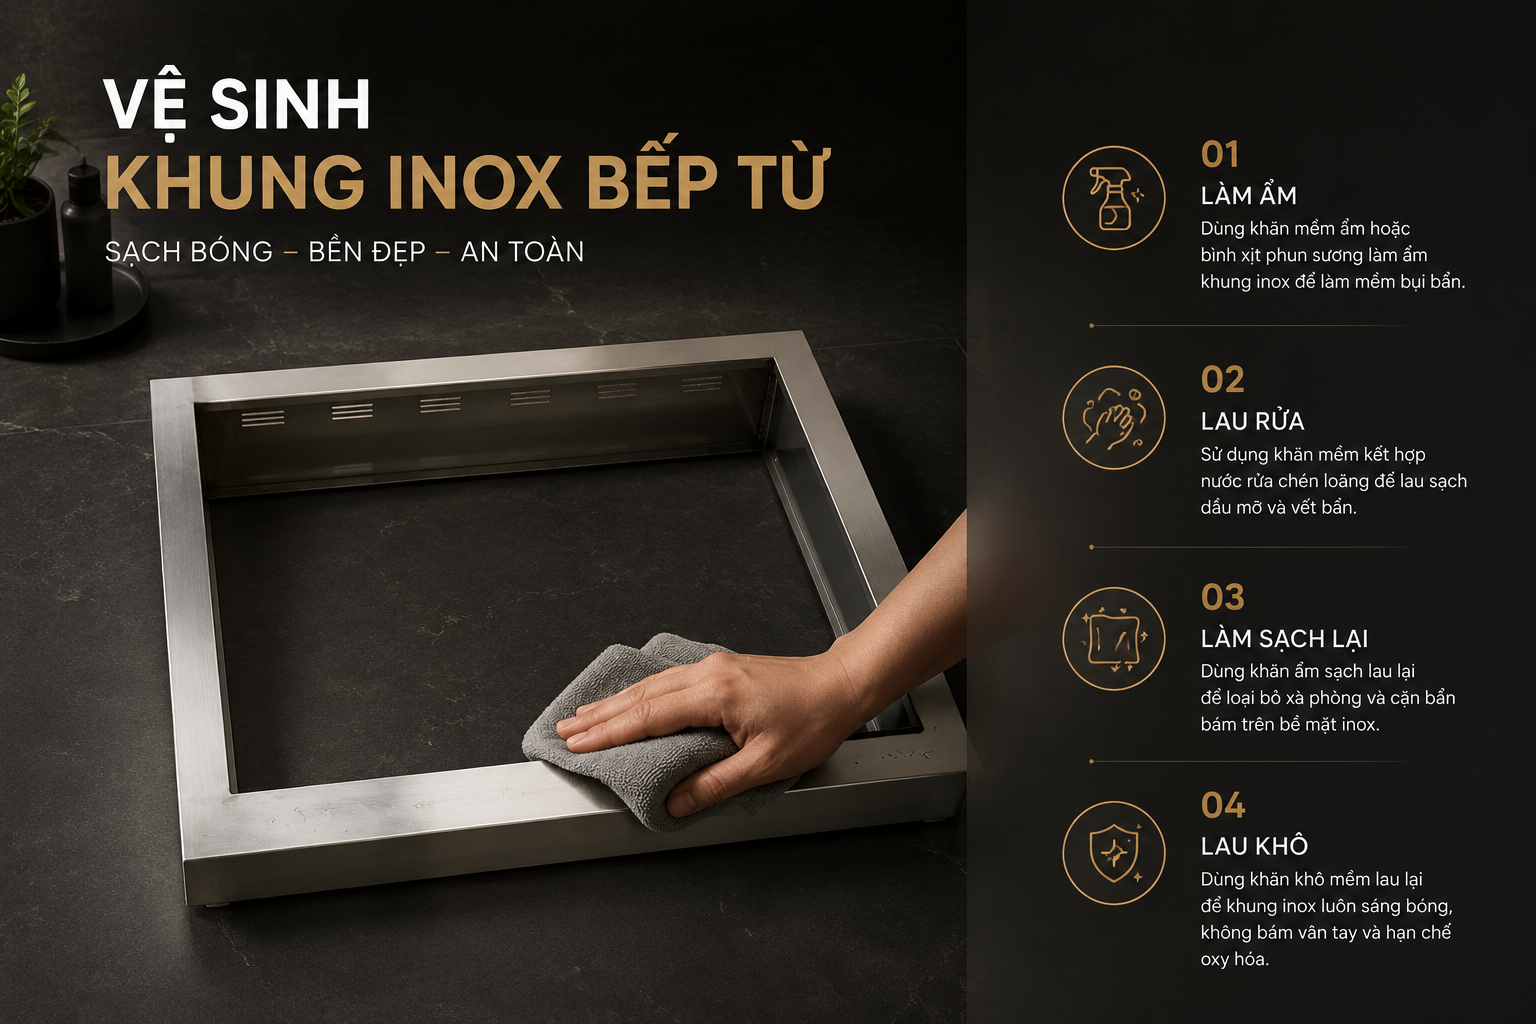 Cleaning the stainless steel frame of the induction hob
Do not place heavy objects on the glass surface when the hob is misaligned
If the stainless steel frame supporting the hob is dented, warped, or the position of the hob is off-center causing one corner of the glass surface not to touch the frame, the compressive load will be concentrated at a single stress point. At this point, simply placing a heavy pot on to cook or a slight impact can easily cause the tempered glass of the hob to crack or break.
In summary, the question of can a built-in induction hob be installed above is entirely feasible if your device has a large body, has heat dissipation vents on the side, and is placed on a sturdy support frame. However, to avoid the risk of warranty denial or glass breakage, you should not attempt to install it if the hob does not meet technical standards. Please contact the professional Köcher technical team for the safest advice!
|
Köcher induction hobs pioneer in German technology – For detailed product information, please contact:
|