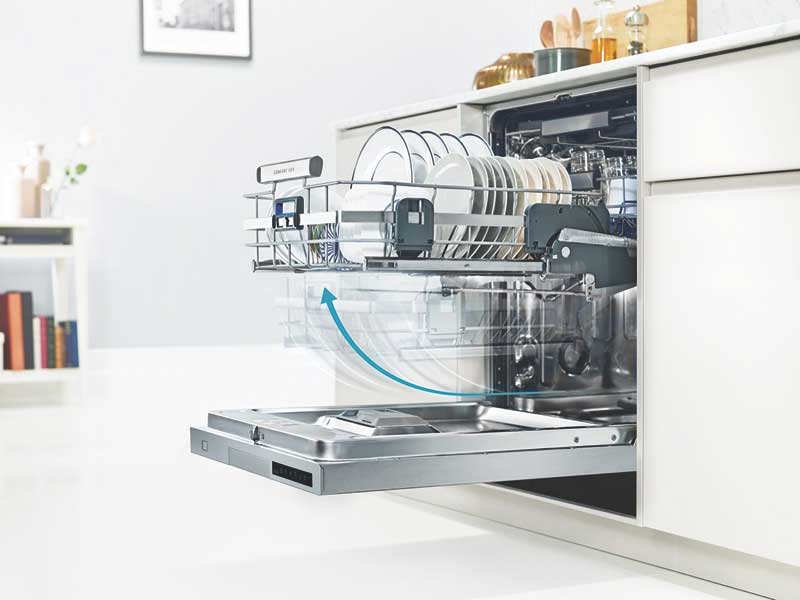
How to Install a Dishwasher
Installing a dishwasher consists of 7 steps:
- Prepare for the dishwasher installation
- Select a suitable installation location for the dishwasher
- Install the dishwasher according to the installation instructions
- Install the water supply and drainage system
- Connect the appropriate power source
- Check the entire installation results
- Run a test of the dishwasher to check
Proper installation of the dishwasher is a basic technical requirement to ensure the machine’s functions operate accurately, maximize the machine’s performance, ensure its durability, and make usage more convenient and safer.
Understanding what you need, this article from Kocher will guide you on how to install a dishwasher in detail, helping you use this modern device most effectively.
The content of this article includes:
- Overview of dishwasher installation
- Self-installation or hiring a professional?
- Quick description of the installation steps
- Prepare for the dishwasher installation
- Select a suitable installation location for the dishwasher
- Check the dimensions of the dishwasher and the installation location
- Install the dishwasher according to the installation instructions
- Install the water supply and drainage system
- Connect the appropriate power source
- Check the entire installation results
- Run a test of the dishwasher to check
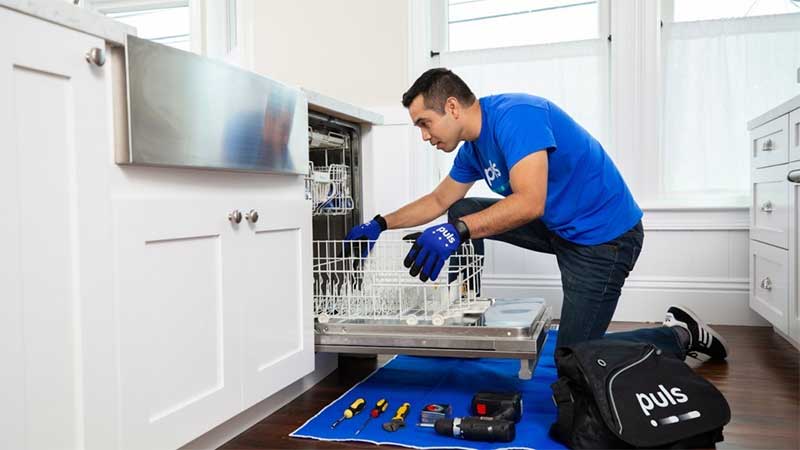
1. Overview of Dishwasher Installation
Before diving into the guide on how to install a dishwasher, Kocher wants to emphasize and remind readers and customers of one very important thing:
Self-installation or hiring a professional?
- Installing a dishwasher requires a high level of expertise and training to set up, configure, and operate the device safely and effectively.
- The dishwasher’s components need to be connected accurately; otherwise, the functions will operate unstably.
- The connection of the water supply and drainage, as well as the electrical connection, must comply with the standards required in the manufacturer’s instructions that come with the product to ensure safety during use.
- Additionally, you must pay special attention to the design of the location where the dishwasher is placed to align with the electrical system and the water supply and drainage pipes of the household.
Typically, when you purchase a household dishwasher from reputable authorized dealers, a technician will come to assist with the installation at your home. Therefore, the installation instructions that Kocher shares below will help you reference and know how to supervise their installation process to ensure it meets standards.
Quick description of the installation steps
The steps in the process of properly installing the dishwasher according to the manufacturer’s standards to ensure the machine operates at its best are as follows:
- Step 1: Check all products and accessories to ensure they are complete and undamaged
- Step 2: Determine the location for the dishwasher according to our advice in section 2
- Step 3: Check the dimensions of the dishwasher against the kitchen cabinet.
- For standalone dishwashers, check the dimensions to ensure compatibility with the kitchen by placing the back of the machine against the edge of the cabinet or against the wall.
- For built-in dishwashers, the device can be placed in a designated space under the kitchen cabinet that matches the size of the machine.
- Reference: Standard dishwasher dimensions for Vietnamese kitchens
- Step 4: Install the device according to the manufacturer’s installation guide in the location you have chosen
- Step 5: Connect the drainage pipe so that the outlet is no higher than 60cm to avoid affecting the drainage process of the device
- Step 6: Connect the water supply line, paying attention to the joints to ensure there are no leaks and minimize the length of the pipe and fittings for the most convenient water flow
- Step 7: Connect the power source suitable for the device’s capacity and voltage
Step 1: Prepare for the Dishwasher Installation
To ensure a smooth, quick installation with guaranteed quality, you should make certain preparations. Installing a dishwasher is much more complex than installing a washing machine or refrigerator. Therefore, preparation is essential.
Necessary tools for installing a dishwasher if you want to do it yourself
Typically, if you buy a new dishwasher, the installer will bring all the materials and equipment needed for the installation. You just need to prepare the installation space for the dishwasher. However, if you are technically inclined and want to understand how to install a dishwasher, that is also very good. When you understand, you will be able to control the installation work of the installer, ensuring the dishwasher is installed correctly, carefully, and functions well for a long time.
Because abroad is one thing, but in Vietnam, not every technician or company is dedicated to installation. Knowing how to install is still better for you.
Prepare the necessary tools for installing a new dishwasher before you start — you will save time and effort during the installation.
- 4-in-1 screwdriver
- Adjustable wrench
- Pliers
- Voltage tester
- Channel lock pliers or adjustable wrench
- Drill and chisel (if necessary)
Materials needed for installing a dishwasher
Avoid last-minute shopping trips for dishwasher installation by preparing all your materials in advance. Here is the list.
- New dishwasher
- Stainless steel braided water hose (optional)
- Teflon tape
- Dishwasher connection kit
- Pipe joint compound
- Electrical appliance wire
- Wire connectors (nuts)
Prepare the space for installing the dishwasher
This is very important in the dishwasher installation process. You should know and prepare before the dishwasher installer arrives. If you do not understand and the installer comes but there is not enough space to install the machine into the cabinet, it will be very inconvenient. Additionally, understanding will help you arrange the space for the dishwasher to operate at its best. You can read the in-depth article related to Dishwasher Dimensions.
Turn off the power and water
Prepare for the installation by turning off the water supply and power to your existing machine. Taking the time to do this before the delivery staff arrives (about an hour in advance) will allow the lines to drain and ensure that the installation will be as quick (and safe!) as possible.
…
Read the user manual
Step 2: Choose a Suitable Location for the Dishwasher
The first task in the dishwasher installation process is to address the question, “Where should the dishwasher be placed?” The installation of the dishwasher not only needs to be correct for the machine to operate but also requires designing the location to place the dishwasher for convenient access to the power supply as well as ensuring the water supply and drainage pipes are appropriately positioned.
Dishwashers are commonly divided into two types: built-in dishwashers and standalone dishwashers, and there is also a very small countertop dishwasher type, which is not very popular in Vietnam. How to install a dishwasher depends entirely on the type of machine. Each type will have a different installation location:
Installation location for standalone dishwashers
- Standalone dishwashers are perhaps the most versatile type of dishwasher placement in your kitchen because their design is perfect from the machine frame to the control panel.
- For installing standalone dishwashers, there are no strict size requirements.
- You can place it anywhere as long as the location has a solid, dry, and water-resistant surface.
- Additionally, convenience for leading the power and water supply in and out of the machine should also be ensured as much as possible.
- A suitable location can be next to the kitchen shelf, beside the refrigerator, or near the sink, fitting your kitchen space so that they are neat and save as much space as possible, not obstructing traffic in the house and convenient for the machine to operate as well as for placing and retrieving dishes. Moreover, if your kitchen space is not wide enough, you can place this dishwasher built into the kitchen cabinet like a built-in dishwasher or place the machine outside on the balcony, next to the washing machine, with complete water supply and drainage lines for the machine.
Installation location for built-in dishwashers
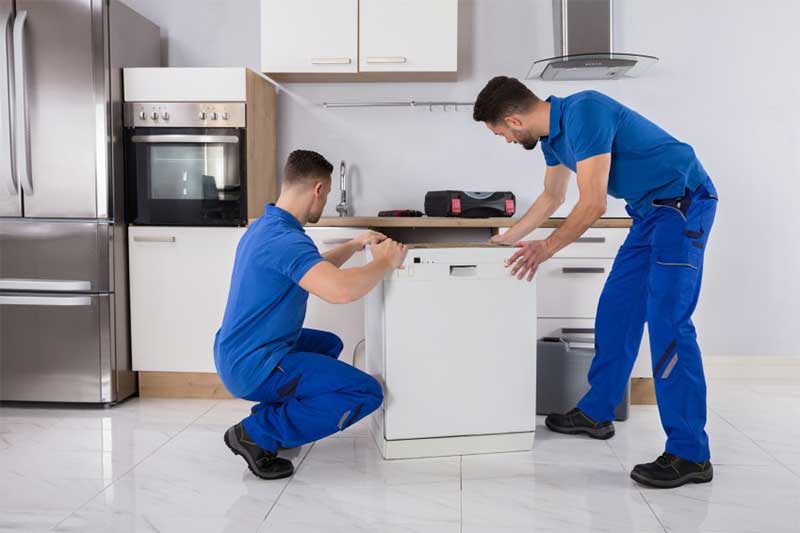
- For built-in dishwashers, the design of the placement is simpler; you can place the dishwasher in the designated space already designed under the kitchen. Or if your kitchen space is large enough to design a kitchen island similar to European style, then a reasonable installation location for the dishwasher can also be at the base of that island.
- A very important principle in the installation process of built-in dishwashers is to maintain an appropriate distance between the device and the cabinet wall; the most reasonable distance recommended by the manufacturer is 1cm on the top and both sides, while the depth must maintain a minimum distance of 10cm to ensure the machine is well-ventilated and dissipates heat.
- Because built-in dishwashers do not have an outer casing like standalone dishwashers, they cannot be placed outside on the balcony or just placed outside the kitchen cabinet but can only be installed inside the cabinet.
 Installation location for countertop dishwashers
- This type of machine is small in size, so you can place it wherever is most convenient, such as on the kitchen shelf, or even on the dining table, as long as the electrical and drainage factors for the dishwasher are ensured.
- For mini dishwashers with 6 sets, you do not need to be too elaborate in arranging the dishwasher due to its compactness.
- You can place that machine on the kitchen table to enhance the elegance and convenience of your family kitchen.
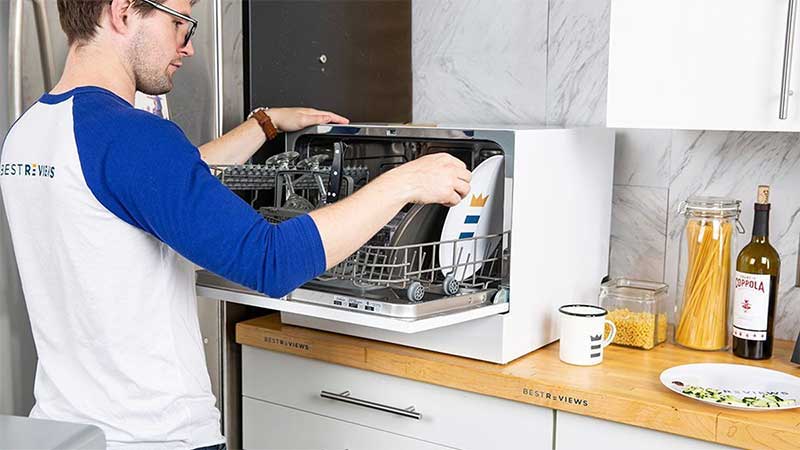
The steps to install a dishwasher are very simple; however, to perform this task quickly, correctly, and safely, you need to follow our notes below:
- Carefully read the manufacturer’s instructions, ensuring you understand the device’s symbols before installation. Before installation and use, customers need to thoroughly refer to the information and requirements provided by the manufacturer and follow the instructions correctly.
- Carry out the dishwasher installation according to the process without skipping steps or rushing.
- Turn off the power and set all switches to the OFF position; do not connect the device to the power source during the installation process.
- Ensure that the protective wiring system (grounding) in the house is installed correctly.
- Connect the power source according to the technical specifications of the dishwasher.
- Any replacement of components or accessories must ensure they are genuine.
- Ensure the stability of the surface and the placement position, especially with built-in dishwashers.
- Do not install the dishwasher alongside heat-emitting devices such as heaters, thermal storage boxes, various stoves, or other heat-emitting items.
- For some types of machines: The water supply pipe has an internal electric valve and is powered by a wire within the pipe. Do not cut the water supply pipe or submerge it in water.

Dishwasher Installation Location
- Select the installation location for the machine to ensure it is balanced, stable, close to the water supply line, drainage line, and electrical outlet in the household, restaurant…
- If the floor is uneven, adjust the placement to achieve maximum balance, with an angle of no more than 2 degrees.
- The dishwasher should be placed where the drainage pipe is convenient, not higher than 60cm to avoid affecting the drainage process.
- If you do not ensure the correct dimensions, it will cause the machine to vibrate, create noise, and not be good for the product’s lifespan.
- Place the machine on a hard floor. Do not place the machine on long carpets or similar surfaces. Do not place the device on top of electrical cables.
- Do not install the machine near high heat sources such as stoves, electronic devices, heaters, etc., to ensure user safety.
- You can choose to install the dishwasher on one side of the sink for easier drainage connection.
- When placing the machine in the chosen position, lean the machine against the wall, ensuring the two side edges of the machine are parallel to the wall or kitchen cabinet.
- The water supply and drainage pipes that come with the machine can be adjusted left or right depending on how the machine is installed for the most convenient use.
Step 4: Install the water supply and drainage system for the dishwasher
Connect the water supply
- Connect the water supply pipe to the cold water source using a ¾ inch threaded connector and tighten it securely, ensuring a solid connection with the water supply faucet to prevent leaks and water overflow, and the pipe is not bent or crushed to allow good water flow.
- Before use, if the water pipe is new or has not been used for a long time, you should check the pipe by letting water flow through it for a moment to see if the water is clean and free of foreign objects, ensuring that the water flowing into the dishwasher is clean for effective operation and increased durability.
- To avoid water remaining in the supply pipe, turn off the faucet after use.
- The water safety system is a safety valve system that prevents water leaks. If the water supply pipe starts to leak during the washing process, the safety valve will cut off the water supply.
- Do not submerge the water supply pipe or safety valve in water as it contains electrical components. Do not extend or shorten the water supply pipe. If the water supply pipe or safety valve is damaged, please immediately unplug it from the electrical outlet.
- The required water supply pressure is a minimum of 0.05 Mpa (0.5 bar), a maximum of 1 Mpa (1 bar), and a minimum water supply of 10 liters/minute. If the water pressure is too high, you should use a pressure regulating valve to adjust the pressure suitable for the machine.
Connect the drainage pipe
- When connecting the drainage pipe to the drainage system, choose to install it with a pipe that has a radius of at least 40 mm to ensure the pipe is not bent or kinked, or install the drainage pipe flowing straight into the sink.
- The outlet of the drainage pipe should be placed at a height of less than 1000mm from the floor.
- The end of the faucet must not be submerged in water to avoid backflow.
- The drainage pipe connection must be secure because when using the machine with hot water, it can easily loosen the water pipe; do not allow the drainage pipe to be bent or kinked to avoid poor wastewater flow.
- It is advisable to use the specialized hanging bracket that comes with the machine, securely attach the bracket to the wall so that the drainage pipe does not get displaced, causing water spillage.
- When connecting the drainage pipe to the drainage outlet, you should tighten it to minimize water leakage.
- If you need to use an extension pipe, you should use a similar pipe to the machine’s drainage pipe; do not use an extension pipe longer than 4 m to avoid reducing the machine’s performance.
Step 5: Connect the appropriate power source for the dishwasher
Some notes on power supply for the dishwasher
If anyone has ever used or installed an induction cooktop, they know that the power cord of the induction cooktop must be connected directly to the wire. This is often referred to as direct electrical connection (not through a socket). The reason for this is that if you plug the induction cooktop’s plug into a regular socket, it may work initially. However, in the long run, plugging through a socket for a high-power device like an induction cooktop can cause overheating, melting, burning, or even damaging the socket.
Therefore, you may wonder whether you can plug the dishwasher into a regular socket or not? For someone experienced in using electronic devices, this is very important. This is indeed true and necessary.
If your socket is a new one installed in the last few years, it is likely that it can be used for the dishwasher. Because the power consumption of the dishwasher is only equivalent to that of a refrigerator, microwave, or washing machine. Almost only induction cooktops require direct power connection. Of course, if you are not knowledgeable about electricity, you should ask the dishwasher installer or someone knowledgeable about electricity for safety.
If the socket is old from many years ago or you feel it is not safe enough to plug the dishwasher in, you should ask the dishwasher installer and someone knowledgeable about electricity for the best advice. Because the electrical socket is very important; if the power supply is insufficient or the socket is no longer good for use, it can cause fire, damage, and safety hazards.
Install the ground wire for the dishwasher
Step 1 – Determine the location: Depending on the type and brand of the dishwasher, the electrical junction box may be located at the front or back of the dishwasher. Therefore, make sure to refer to the user manual or the dishwasher manufacturer and ask them to assist in determining the location of the electrical access box.
Step 2 – Open the cover: Remove the cover of the electrical junction box, threading the three-prong power cord into the opening of the box. Depending on the brand and model, the covers may be secured with screws or may simply be attached. Therefore, regardless of the situation, use a screwdriver to remove the screws.
Step 3 – Wiring: Essentially, the wiring consists of black, white, and green wires. The mandatory task here is to connect the black wire from the power cord to the black wire inside the junction box. Then, connect the white wire as well as the wire from the power cord to the electrical access box and do the same for the green wire. After completing, simply replace the cover on the electrical access box.
Step 4 – Plug in: Now, all you need to do is plug the power cord into the junction box, just behind the dishwasher, sliding the dishwasher into the cabinet. Ensure careful and safe handling while pushing the dishwasher into its correct position; do not combine the power cord under the dishwasher.
Step 5 – Finalize: Connecting power for most dishwashers usually includes a small metal block next to the machine. The necessary task is to remove the plate to access underneath the dishwasher. A screw will secure the cover on the connection block, with three different wires. Just ensure to connect these three wires to their correct and appropriate positions, and do not forget to use a connector on the supply to ensure the connection when the dishwasher is slid in and out. Also, remember that the soft power cord of the dishwasher is not as safe as a dishwasher with a hard wire. The reason behind this is that if the connection becomes loose, it can lead to fire risks. Therefore, one way to ensure a safe connection is to ensure that the ground on the plug remains connected and the socket is properly grounded. This will help protect against any shocks.
If you are not knowledgeable about electricity, you should only read to understand the installation process. As for electrical matters, it is best to let knowledgeable, experienced installers handle it for safety.
Some notes related to the power supply of the dishwasher:
- The dishwasher must be grounded and properly earthed. In case of an incident, grounding will reduce the risk of electric shock. Grounding must be performed by a technician or someone knowledgeable about the technology.
- Ensure that the power supply used has a frequency and voltage corresponding to the technical specifications of the dishwasher.
- Never plug the power cord into an outlet without proper grounding. If the ground wire is not properly connected, the risk of electric shock, fire, or damage may occur. Users should not cut or remove the grounding wire from the electrical cord under any circumstances.
- Do not use extension cords or power strips when connecting power to the machine to avoid fire or overheating.
- Throughout the installation process, you absolutely must not connect power to the machine to avoid short circuits or electric shocks.
- Use a 10 amp fuse, slow-blow fuse, or circuit breaker when installing the machine, connecting the power to a separate circuit.
- Do not sit or stand on any parts of the dishwasher.
- When installing the machine, the power cord must meet technical specifications, not be excessively bent, or have heavy objects placed on the power cord.
Step 6: Check the Entire Installation Results of the Dishwasher
This is very necessary after installing the dishwasher. The inspection steps include checking both the inside and outside of the dishwasher.
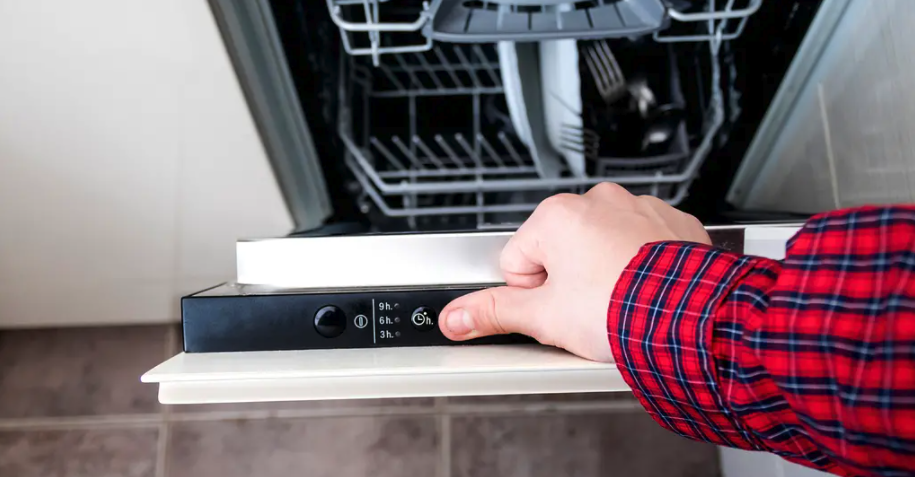
- Check the newness of the dishwasher, accessories, and packaging: there are many reputable sellers in the market. However, there is always a small percentage of sellers who are not reputable or who may have errors. I once bought a new computer monitor, and when I received it, it was not a completely new monitor. Therefore, during the delivery and installation process, you should pay attention to the inside and outside of the dishwasher, accessories, packaging, etc., to check whether the device you received is indeed a completely new product, not a returned or display item. For expensive devices, you should be more careful.
- Check the water supply of the dishwasher: check whether there are any leaks at the joints at the water supply inlet? If there is even a small leak, you should ask the installer to fix it immediately. Because water leakage issues can become significant over time. This can damage your interior. In some situations, it can cause electrical short circuits, which is very dangerous. Therefore, the water supply must absolutely ensure no leaks. You should also ask the installer to check whether the water pressure supplied to the dishwasher is appropriate. Adjusting the water pressure is also very important, helping the dishwasher and pipes operate more durably, at the correct capacity, and with fewer breakdowns.
- Check the drainage of the dishwasher: check whether the drainage area is functioning well? If the water drains well and there are no leaks, then it meets the requirements. Usually, the drainage pipe will connect to the dirty water drainage system of the apartment or household, so it may have odors. After checking that everything is okay, you can use black tape or similar types to seal the connection point of the dishwasher’s drainage outlet with the drainage system. This helps prevent unpleasant odors from the wastewater system from rising and being harmful to health. You also need to check whether the water supply and drainage pipes are kinked anywhere? Creating kinks can easily damage the pipe or accumulate dirt later.
- Check the plug and the dishwasher’s plug: the dishwasher does not consume much electricity but operates for a long time. Therefore, the contact between the plug and the socket must be good, secure, and tight. This helps prevent electrical leakage or, in the long run, prevents damage to the socket or plug. You should also use a slightly better quality plug, not a cheap one, as they do not differ much in price.
- Check the dishwasher at its installation location: you can gently shake the dishwasher to see if it is stable, whether it is truly on a flat surface? A securely and stably installed machine will help reduce vibrations and noise during operation. Thus, the machine will be more durable and operate better over a long period.
- Check all the main functions of the machine: you should use all the main functions of the machine to ensure it operates well without errors by running an empty load. If you skip this functional check and discover issues a few days later, warranty or repair processes will take much more time and effort. You should also ask the installer to guide you on how to use the main functions so that you know how to use them right away, without fumbling. Of course, if you want to use it more in-depth later, you can read the manufacturer’s manual. Before starting a cycle, you should also add one or two cups of white vinegar. It will clean the inside of any debris or residue from the manufacturing process. Repeat this “wash” monthly or longer to keep everything clean.
- Check inside the machine after testing the dishwasher: this helps you immediately detect any manufacturer errors. Of course, no one wants a newly purchased dishwasher to have defects. However, mechanical and electronic devices always have a certain failure rate. You should check by observing the inside after using the machine. For anything that can be fixed, the installer will fix it immediately. For anything that cannot be fixed, you can request a warranty or ask for a new machine (if the manufacturer has a replacement policy). This will help you save time and effort.
- Check the user manuals and warranty papers of the dishwasher: you should check these documents to ensure your long-term rights. Some manufacturers may use electronic warranty policies and require you to call the hotline to activate the warranty. You should also do this early to ensure your rights. You should keep the box and packaging of the machine for a while in case you need to warranty it; you will need the box, foam, etc.
Step 7: Run a Test of the Dishwasher and Fine-tune

Practice loading your machine
To optimize the available space in your machine, take some time to experiment with a few different loading layouts (think of it as the adult version of Tetris!). Your user manual may provide insights into what will happen, but experimenting with your own dishes, plates, and glassware is often the best way to figure out how to maximize your space.
Experiment with different detergents
Between gels, tablets, pods, and powders, there are many options when it comes to dishwasher detergents. You will want to take some time to find out which cleaning aid works best for your machine.
The user manual will tell you whether you need to buy rinse aid along with your detergent and which type might be best. You also need to think about the hardness of your water. If your dishes are cloudy, you might consider looking for a different detergent.
Try out different loading layouts
When you are using your dishwasher, you will want to maximize the space as much as possible. So, take some time to try out a variety of different loading layouts. That way, you will figure out how to fit in as much as possible, and this can cut down on the number of cycles you need to run. It’s all about making the most of your space.
You can read more in the article: How to use a dishwasher
Frequently Asked Questions about Dishwasher Installation
How long does it take to install a dishwasher? An expert can typically install a dishwasher in one to two hours. Due to many influencing factors, such as water pipes and electrical wiring, the time may vary slightly in either direction.
Who should install the dishwasher? Most people use the professional services of the dishwasher seller to install a dishwasher. If you are considering self-installing the dishwasher, you should have a good working knowledge of basic water pipes, connectors, and electrical systems. However, you should only do it yourself if you are knowledgeable about this. Otherwise, you should let a professional handle the installation, as this will help the machine operate stably for a long time, with fewer breakdowns, or you can self-install after observing the installer at least once for the best results.
Is it worth the cost to install a dishwasher? Your dishwasher is an investment, and for most people, the best choice is to hire a professional installer. When you hire an experienced dishwasher installer, you will gain the peace of mind you need — and you can avoid the headaches associated with doing it all yourself, as well as any breakdowns that may occur immediately or after a period of use. At that point, the time and cost of repairs will be much more than the savings you achieved.
Is installing a dishwasher difficult? Installing a dishwasher is an intermediate task. You should have a basic understanding of plumbing and electrical systems, as well as the right tools if you plan to install your own system. Overall, it is not too difficult, but it is not easy for someone without experience. Learning how to install a dishwasher helps you control the quality of the installation or make adjustments later when minor issues arise. However, learning will not guarantee overcoming your limitations in knowledge and installation experience.
What do you need to install a dishwasher? Installing your own dishwasher will require your home to have the appropriate connections — and if you are simply replacing a dishwasher, you will be in good shape. You will need some tools, a water supply line, a drainage line, and enough space for the device itself. Some dishwashers come with an installation kit, but for many people, the simplest option is to let the dishwasher seller handle the installation.
Conclusion:
Above, Kocher has shared useful information about how to install as well as how to design the placement of the dishwasher reasonably, helping the device operate durably and safely. We always hope that this in-depth knowledge will help you feel completely confident when making decisions to choose the right product for your family. Not only stopping at convenient cleaning solutions, with the mission of elevating the Vietnamese kitchen space with smart and durable devices, Köcher is proud to be a pioneer in Vietnam bringing German technology into induction cooking products.
Therefore, if you are still looking for a synchronized kitchen ecosystem for your home, especially a genuine dishwasher that meets all factors from superior quality, reasonable price to user-friendly features, please refer to Kocher’s dishwasher lines; we are sure you will never be disappointed!