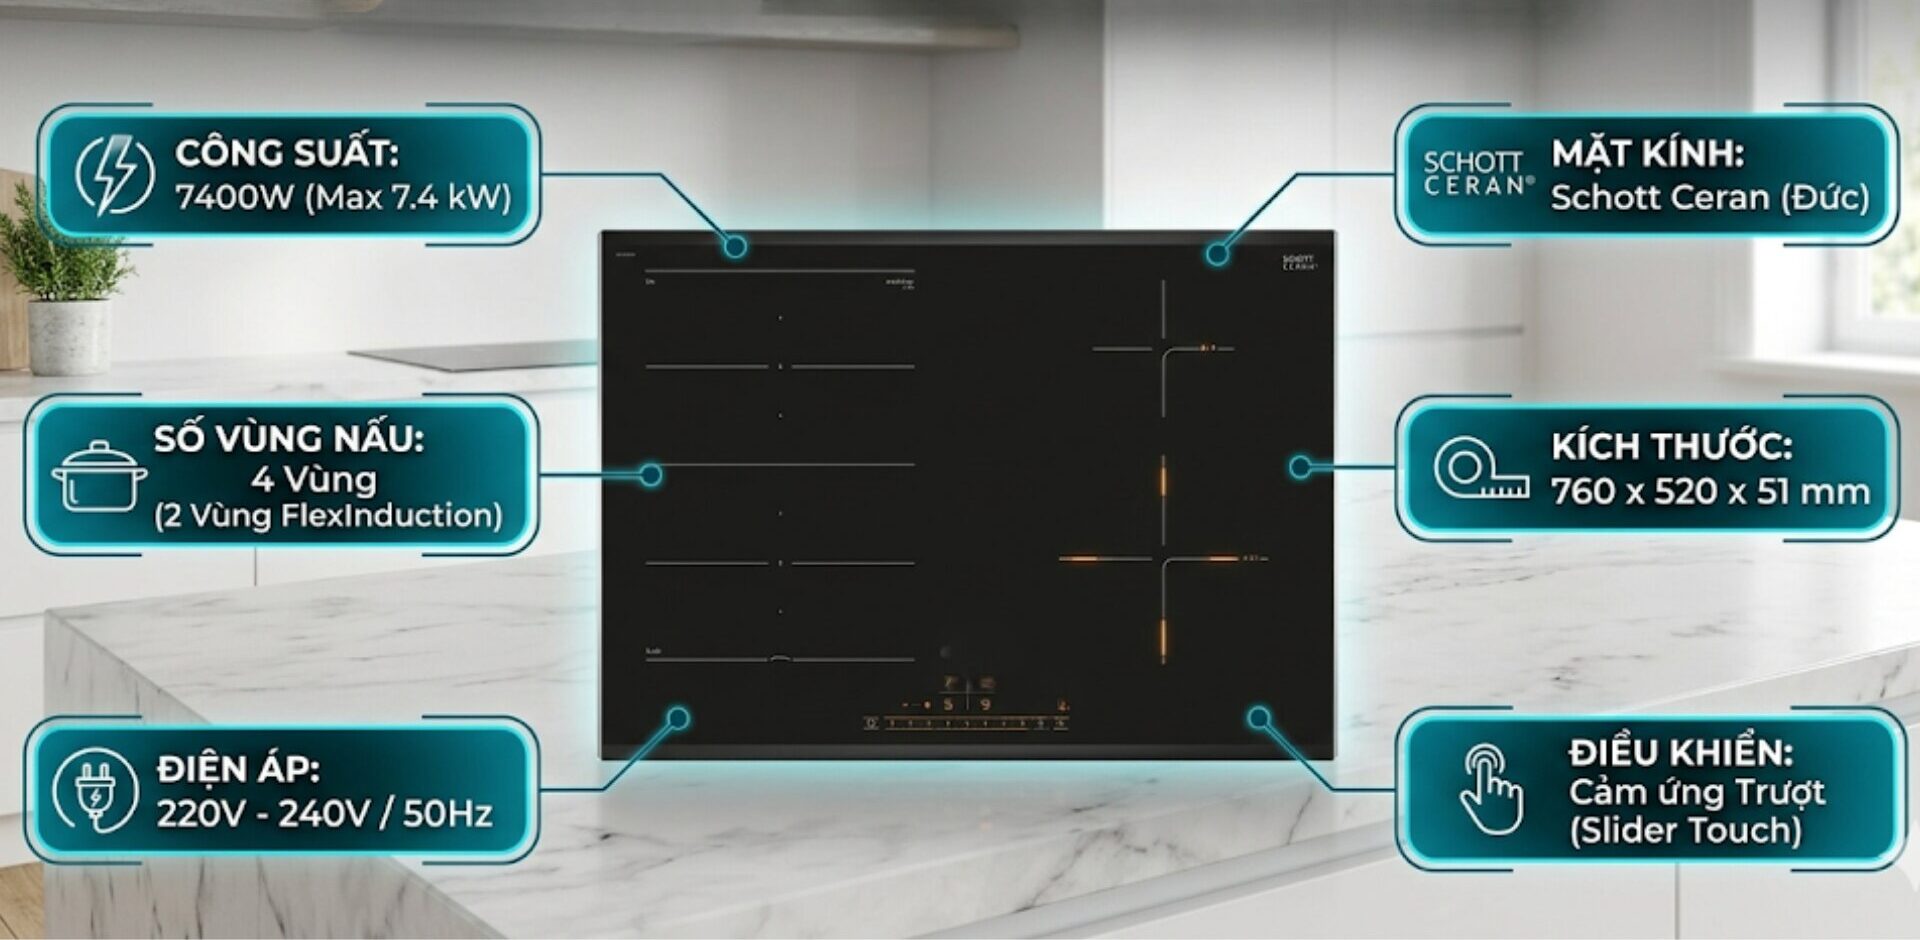
During the use of induction cookers at home, the situation of induction cooker malfunctioning is one of the complex technical issues that directly affects cooking performance. Understanding the signs and causes of this error will help you come up with timely solutions to protect the lifespan of your kitchen equipment.

| Induction cooker malfunctioning is the phenomenon where the components responsible for controlling, converting, and supplying power (mainly IGBT, capacitors, power ICs, fuses) fail, causing the cooker to not heat up, not power on, display errors, or shut down automatically, often due to overload, unstable voltage, aging components, or misuse, leading to the cooker being unable to generate heat or operating erratically. |
4 signs of a malfunctioning induction cooker
To accurately determine whether the device is experiencing issues with the power circuit, users can rely on the following technical signs:
- The cooker suddenly shuts off while cooking: The device operating at high power suddenly turns off may be due to overheating components or circuit shorts.
- The cooker lights up but does not heat: The cooling fan is still running, the control panel still responds to touch, but the bottom of the pot does not receive heat, usually due to a faulty IGBT or power filter capacitor.
- Small popping sounds and burnt smell: A “pop” sound accompanied by a characteristic burnt plastic smell indicates that the capacitor has exploded or components on the power circuit have burned out.
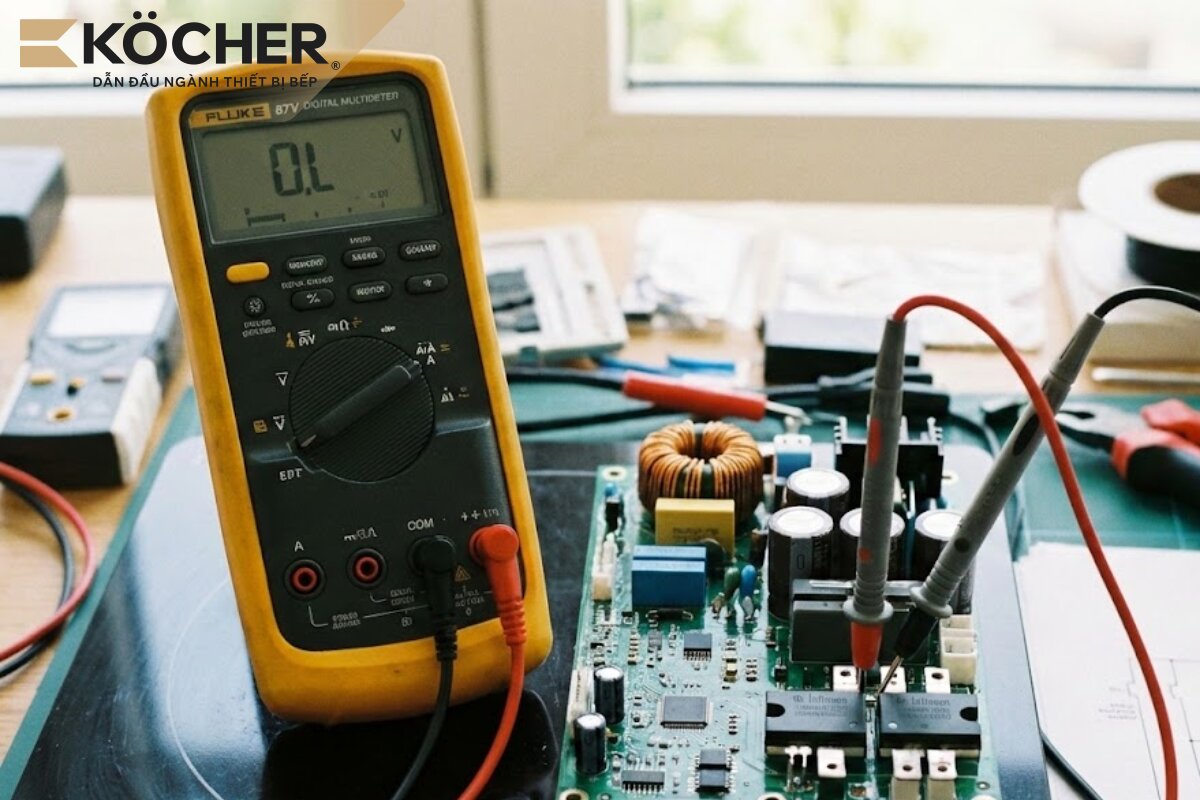
- Testing with specialized equipment: When using a multimeter to measure the pins of the IGBT, if the meter displays “OL”, “1” or “0”, this component may be damaged.
7 causes of induction cooker malfunction and detailed solutions
Understanding the causes of induction cooker power failure will help you devise thorough and safe solutions.
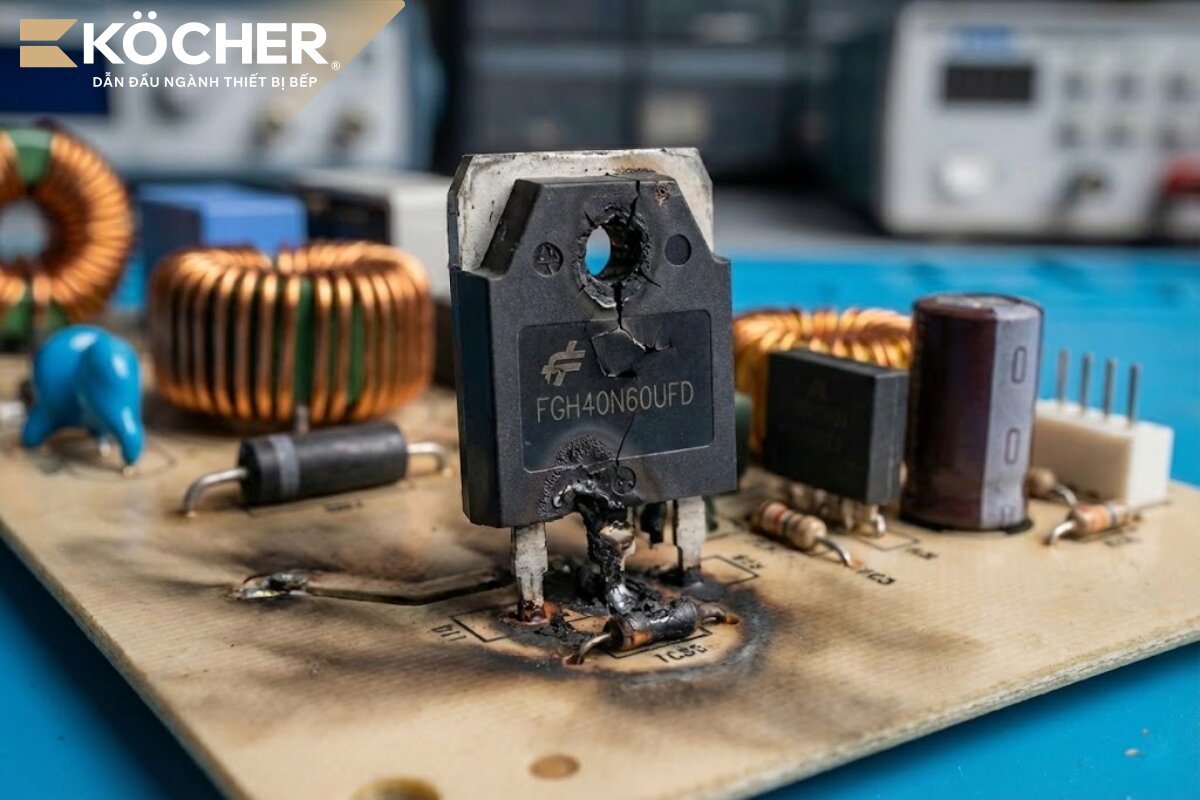
Faulty IGBT component
Faulty IGBT is the most serious and common issue, often occurring immediately when there is a voltage or temperature fluctuation beyond limits.
- Signs to recognize: The cooker emits a loud “pop” sound and trips the main circuit breaker immediately after pressing the start button or selecting a high power level.
- Causes: The IGBT component is damaged due to a surge in voltage from the power grid. When the gate insulation layer is destroyed, this component will short-circuit the system. To accurately diagnose the extent of damage to this power transistor, you need to understand How to test the power transistor using the diode measurement function of the multimeter before proceeding to install a new chip.
- Solution: It is necessary to replace the IGBT with a new one that has equivalent load specifications. Before replacement, it is mandatory to check the driver circuit and the resistors around the G pin to ensure accurate triggering signals, avoiding the new IGBT from being damaged.
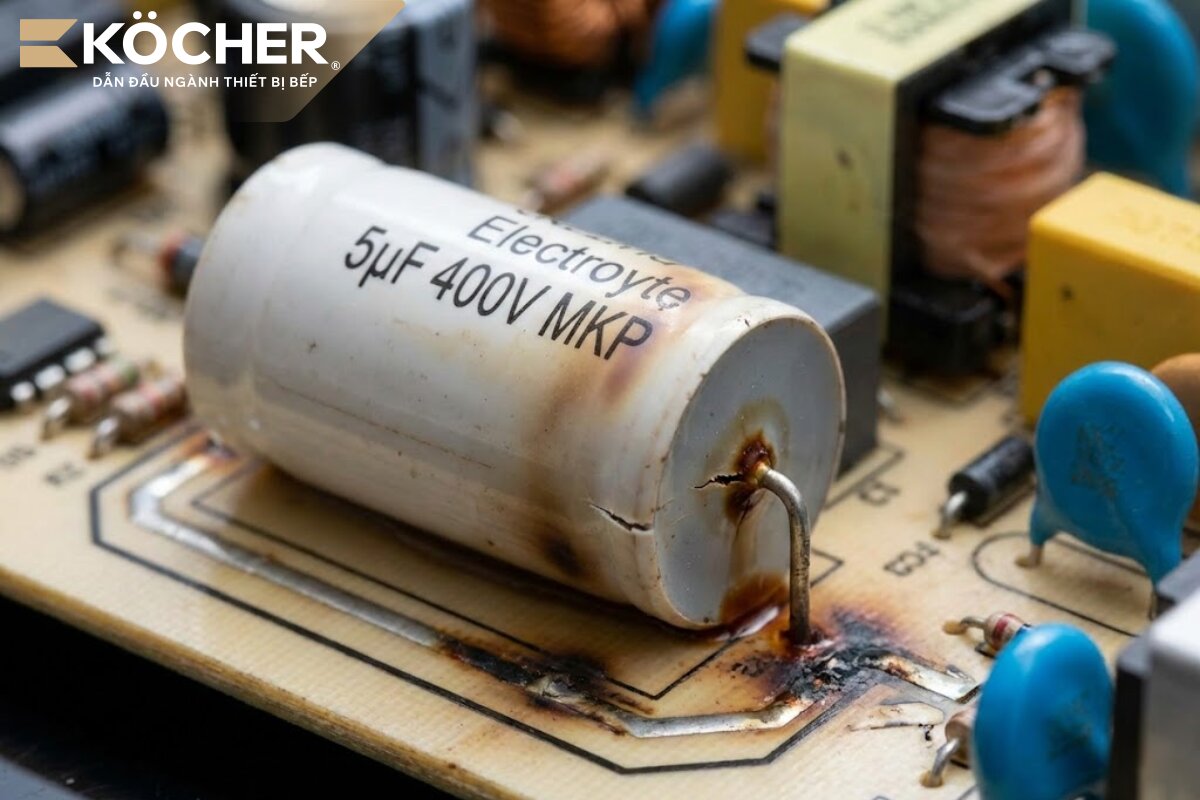
Faulty power filter capacitor (5uF capacitor)
The capacitor acts as a “shield” stabilizing the input current; if this component’s value decreases, it will significantly reduce heating efficiency.
- Signs to recognize: The cooker operates erratically, taking longer than usual to boil water even when using the correct quality pots and pans.
- Causes: The capacitor acts like a “tank” that smooths out the current, ensuring that the energy supplied to the cooker is always stable. After a long period of high heat exposure, the liquid inside the capacitor dries out, causing this stabilization capability to disappear, creating strong voltage spikes. At that point, the IGBT has to work overtime to withstand continuous “electric shocks,” leading to overheating and breakdown.
- Solution: Use specialized equipment to measure the capacitance of the power filter capacitor (usually a 5uF capacitor). If the result deviates more than 10% from the original specification, replace it with a new capacitor that has the same voltage rating (400V – 450V) to ensure a stable current supply.
Cooling system failure (Fan and sensor)
The cooling system helps ensure that the temperature within the device remains at a safe level, protecting the semiconductor components that are very sensitive to temperature.
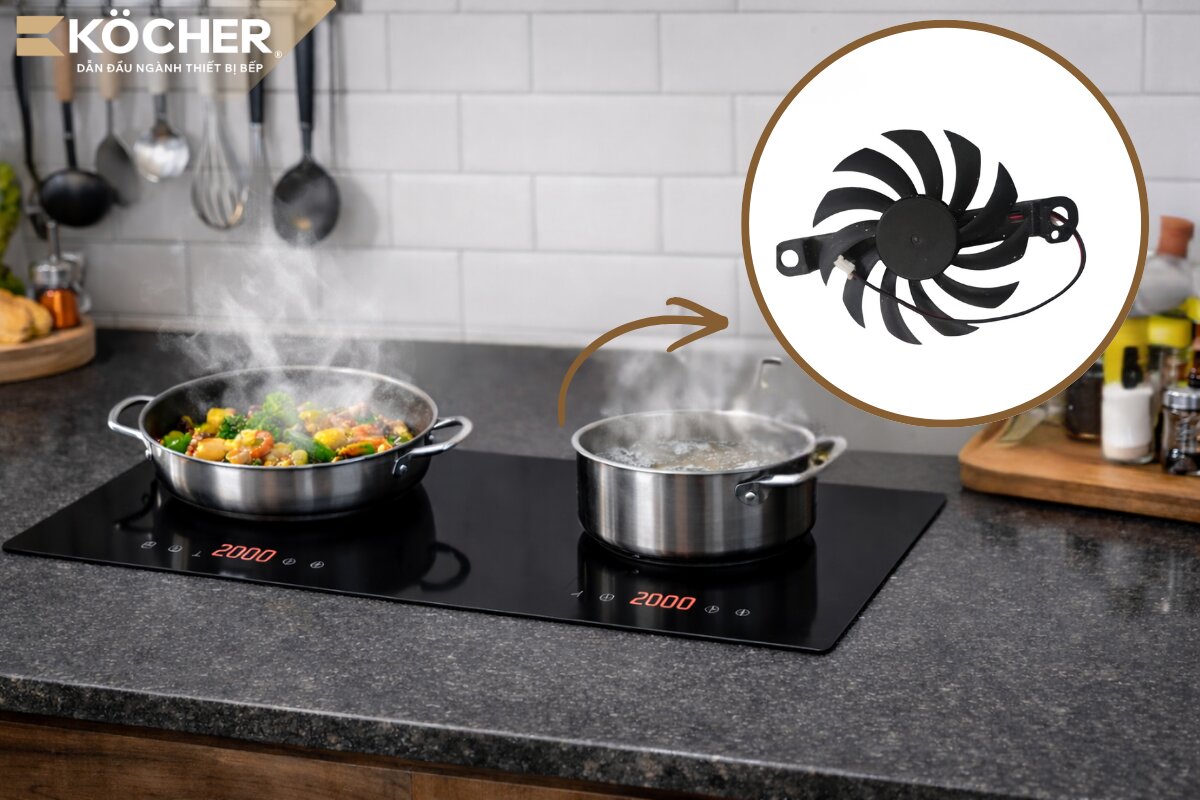
- Signs to recognize: The cooker displays overheating error codes (such as E1, E2) and automatically shuts off after about 3 – 5 minutes of cooking even though the glass surface is not too hot. Additionally, the issue of The induction cooker fan not running or making loud, screeching noises is the clearest indication of a stalled cooling system.
- Causes: Dust accumulation over time causes the shaft to jam, the fan motor burns out, preventing hot air from circulating outside, or the temperature sensor fails (circuit break, value deviation), losing the ability to transmit accurate signals to the microprocessor.
- Solution: Clean dust from the fan and ventilation slots; if the fan motor is faulty, replace it with a new one rated at 18V. For the temperature sensor, use a multimeter to check the resistance value (usually 10k or 100kΩ). If a deviation is detected, replace it with a new component with the same specifications and add specialized thermal paste to ensure sensitivity, helping the system operate safely.
When the cooling system does not operate effectively, the protection circuit board will activate, causing the phenomenon of the induction cooker shutting off continuously to ensure that the internal power components do not burn out.
Control board failure
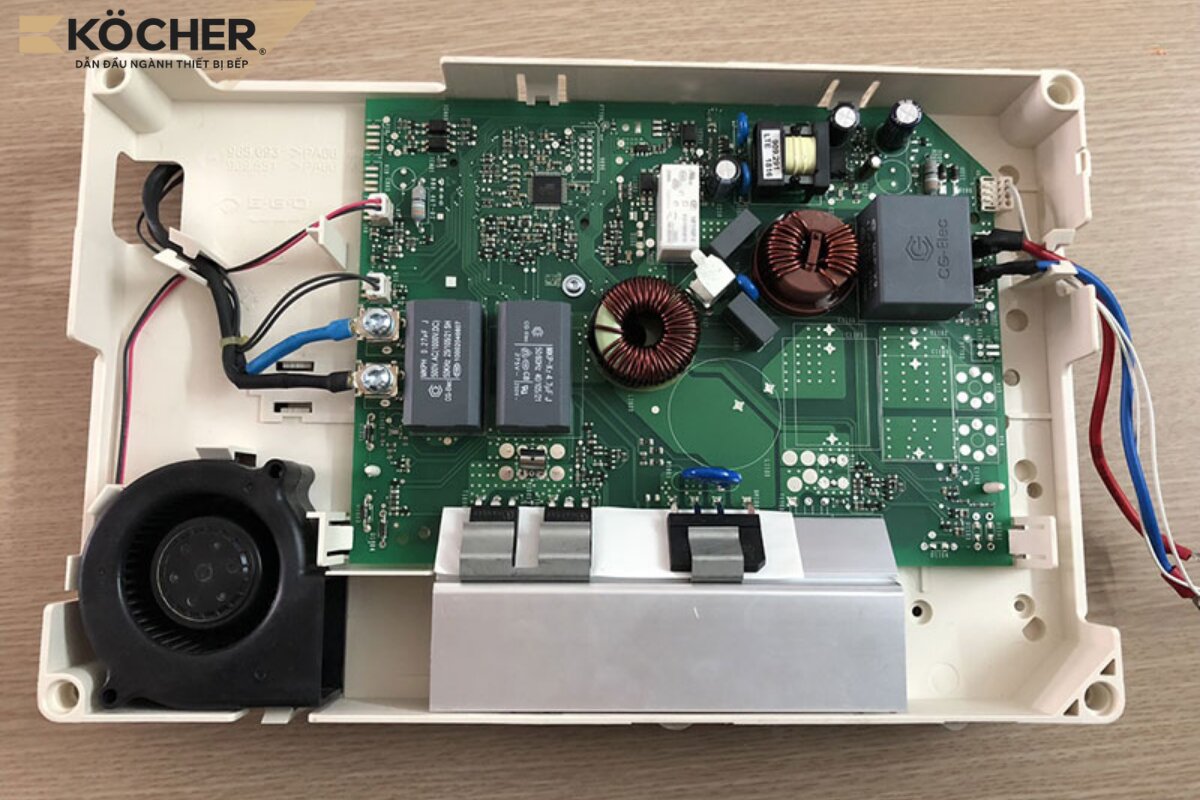
The control board is responsible for distributing power control signals to the components; even a slight deviation in the pulse signal can cause a short circuit in the power circuit.
- Signs to recognize: The touch control panel does not respond, the display shows error codes continuously, or the cooker automatically changes power levels without user intervention.
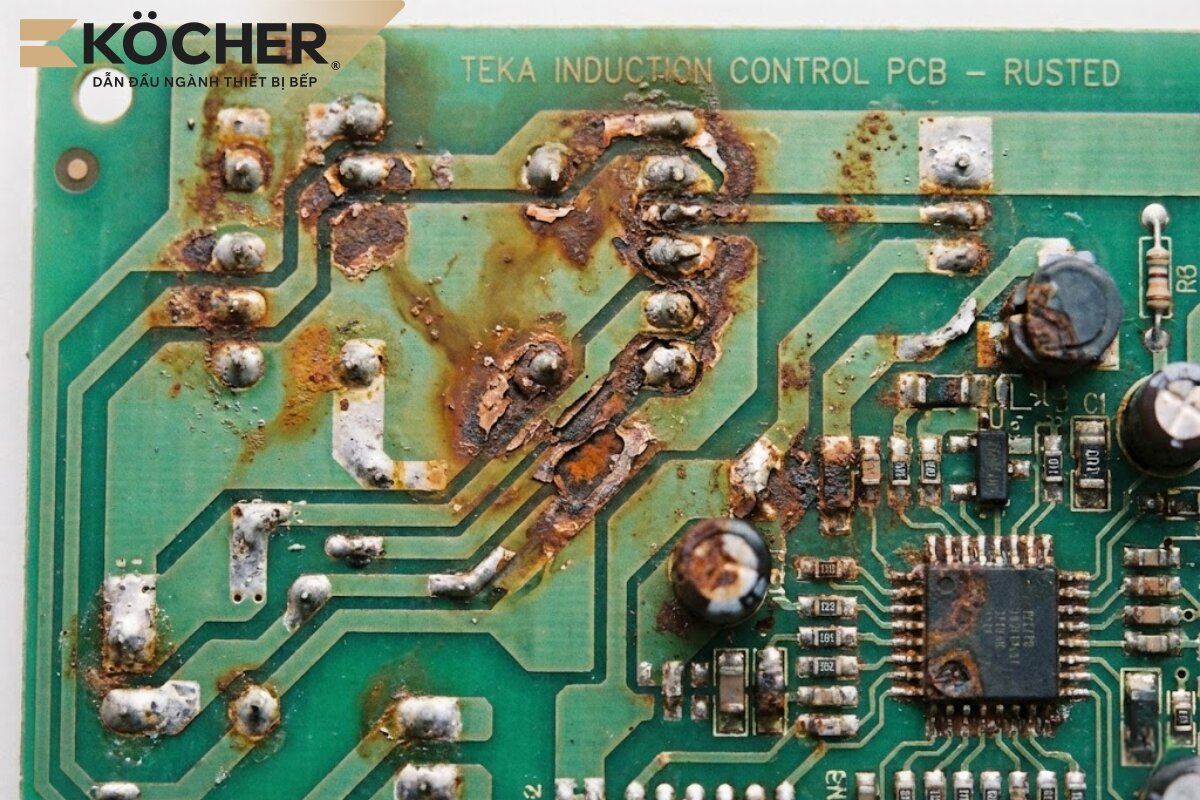
- Causes: High environmental humidity causes oxidation of the circuit paths or conflicts in the control software, causing the PWM (pulse width modulation) signal sent to the G pin of the IGBT to be mis-timed, resulting in a short circuit.
- Solution: Contact a technician to clean the rusted points and review the MCU microprocessor block. In the case of serious faults, the safest solution is to replace the original board to ensure the synchronization and durability of the device.
Blown or broken fuse
A blown fuse can also be a cause of the induction cooker malfunctioning.
- Signs to recognize: The device is completely powered off, with no indicator lights on the control panel even though the household power supply is still stable.
- Causes: When the IGBT shorts out or the capacitor explodes, the current in the circuit will surge and exceed safe limits. At this point, the fuse will blow according to the thermal protection principle to completely cut off power, preventing the risk of fire spreading.
- Solution: You need to contact a technician to check and replace the component according to the manufacturer’s specifications.
Poor contact at power component pins
This error often occurs due to low-quality components, wear and tear over time, or humid environments.
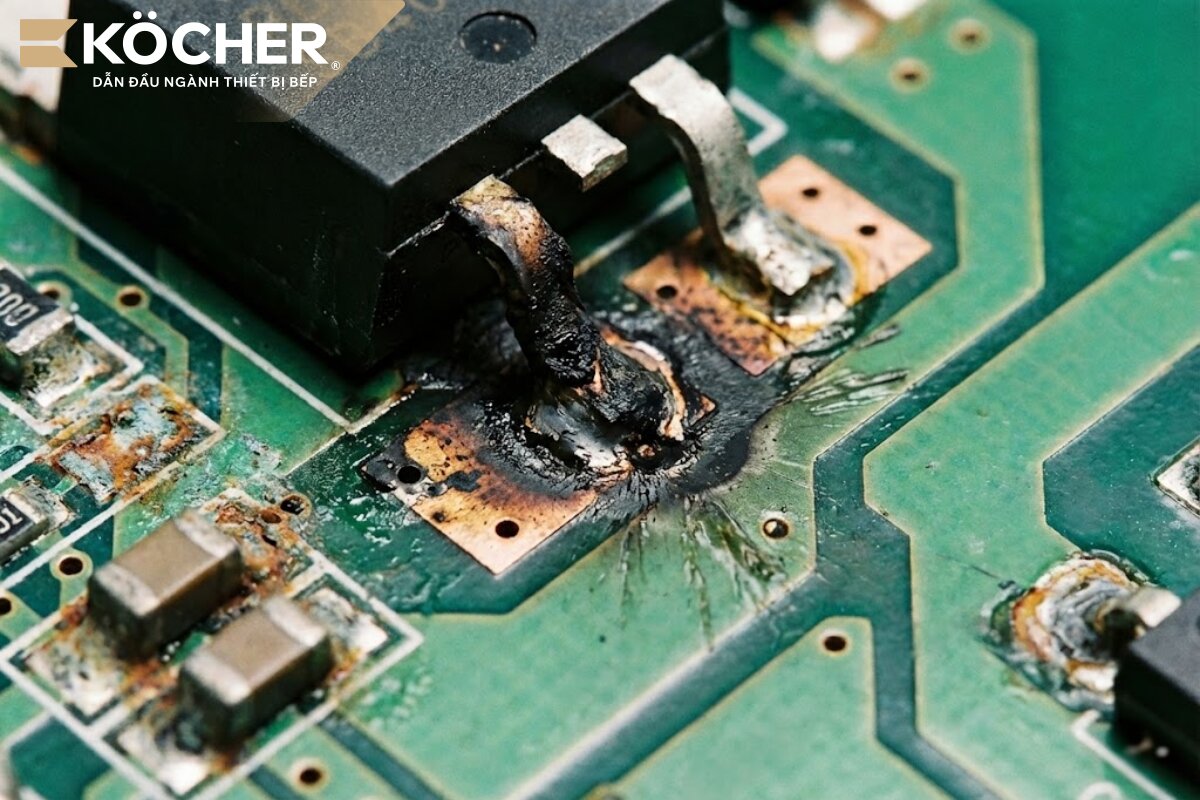
- Signs to recognize: The cooker operates intermittently, accompanied by a burnt plastic smell rising from underneath the cooker even though other functions are normal.
- Causes: When a large current flows through loose component pins, it will create small electric arcs continuously. This process generates extreme heat, burning the circuit board and causing the component pins to no longer conduct electricity well. This “intermittent contact” condition causes the IGBT to experience thermal shock and operate erratically, easily leading to total failure.
- Solution: Contact a technician to clean the circuit board with specialized solutions. Then, re-solder the component pins with high-quality solder, ensuring the solder joint is smooth and shiny, and the contact area is large enough to carry high voltage without generating excess heat.
When the solder joints of the IGBT pins are loose, the power supply to the induction coil is reduced, leading to the phenomenon of the induction cooker being weak even when set to the highest power.
Replacing incompatible components
Using low-quality components or incorrect specifications is the leading cause of the induction cooker malfunctioning again shortly after repair.
- Signs to recognize: The cooker malfunctions again immediately after repair or operates very weakly, unable to reach the set power level.
- Causes: Installing counterfeit IGBT or capacitors, components with lower pressure and temperature ratings than the original components inside the cooker.
- Solution: Always prioritize choosing genuine replacement parts. Carefully check the specifications of the new components to ensure all technical specifications match the original power circuit design, helping to maintain durable operational performance.
5 important notes when the induction cooker malfunctions
To minimize power circuit issues and maintain the durability of the induction cooker, users need to pay attention to the following 5 points:
- Avoid abusing the Booster mode: Users need to understand How to turn on the induction cooker to start the cooking zone correctly, selecting gradually increasing heat levels instead of abruptly activating maximum power. The Booster mode should only be used for about 5 – 10 minutes for quick heating, not continuously maintained at this level to reduce thermal pressure on the IGBT.
- Ensure proper installation location: Place the cooker at least 5cm away from the wall, avoiding any objects blocking the ventilation slots, helping the cooling fan operate most effectively.
- Use a stable power supply: If the household power supply is unstable, consider adding a voltage stabilizer to protect the sensitive semiconductor components inside the induction cooker.
- Prioritize high-quality components: When repairing, always request technicians to use components with clear origins and genuine to ensure long-term load capacity.
- Do not attempt to repair the cooker yourself: If you do not have technical expertise, absolutely do not disassemble the cooker and replace components as it may cause danger and further damage other components.
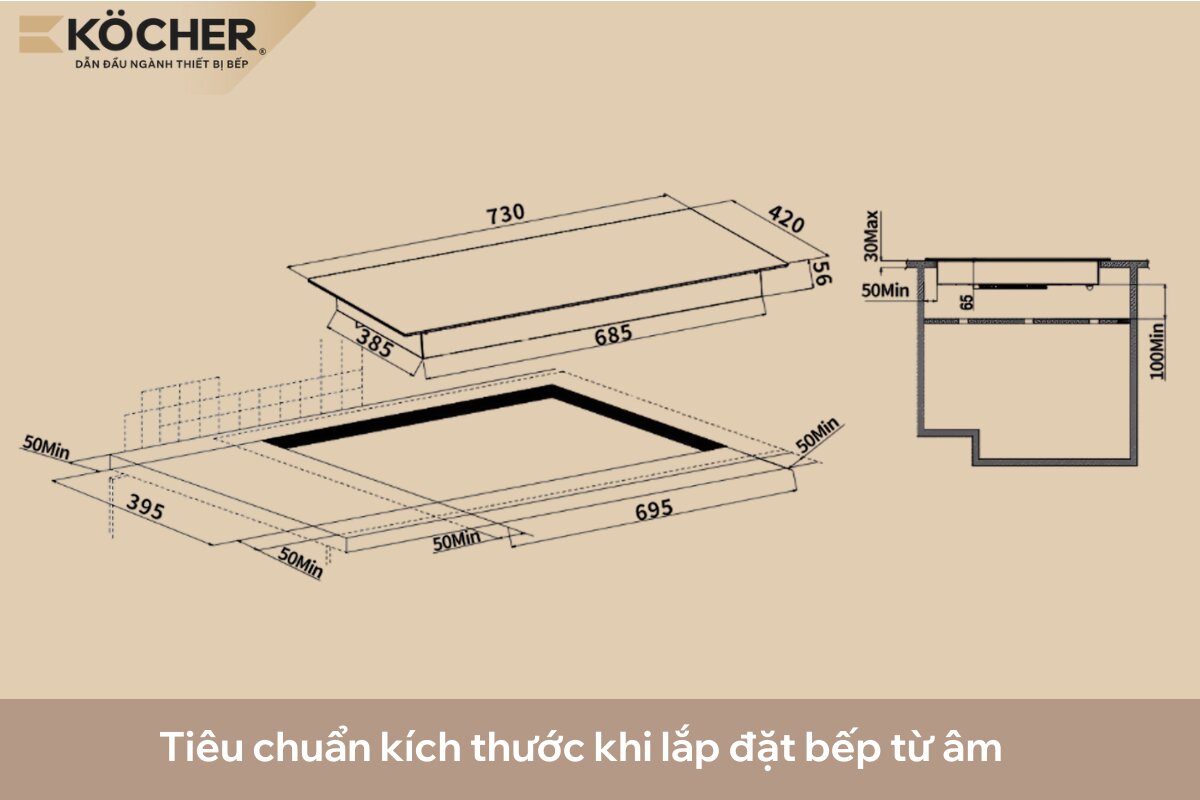 Install the induction cooker at least 5cm away from the wall to allow heat to escape easily and the fan to operate effectively.[/caption>
Understanding the phenomenon of induction cooker malfunction will help users be more proactive in maintaining and using the device. Following technical guidelines not only ensures cooking performance but is also the most sustainable way to protect the value of kitchen equipment in your home. If the power failure is severe, you should contact the warranty center for inspection and replacement of components according to technical standards.
If you are looking for high-quality induction cookers, please refer to Köcher’s products. With superior X-Nano scratch-resistant glass technology and E.G.O components that meet German standards, Köcher proudly offers durable and high-class cooking solutions for your family.
|
Köcher induction cookers pioneer German technology – For detailed product information, please contact:
|