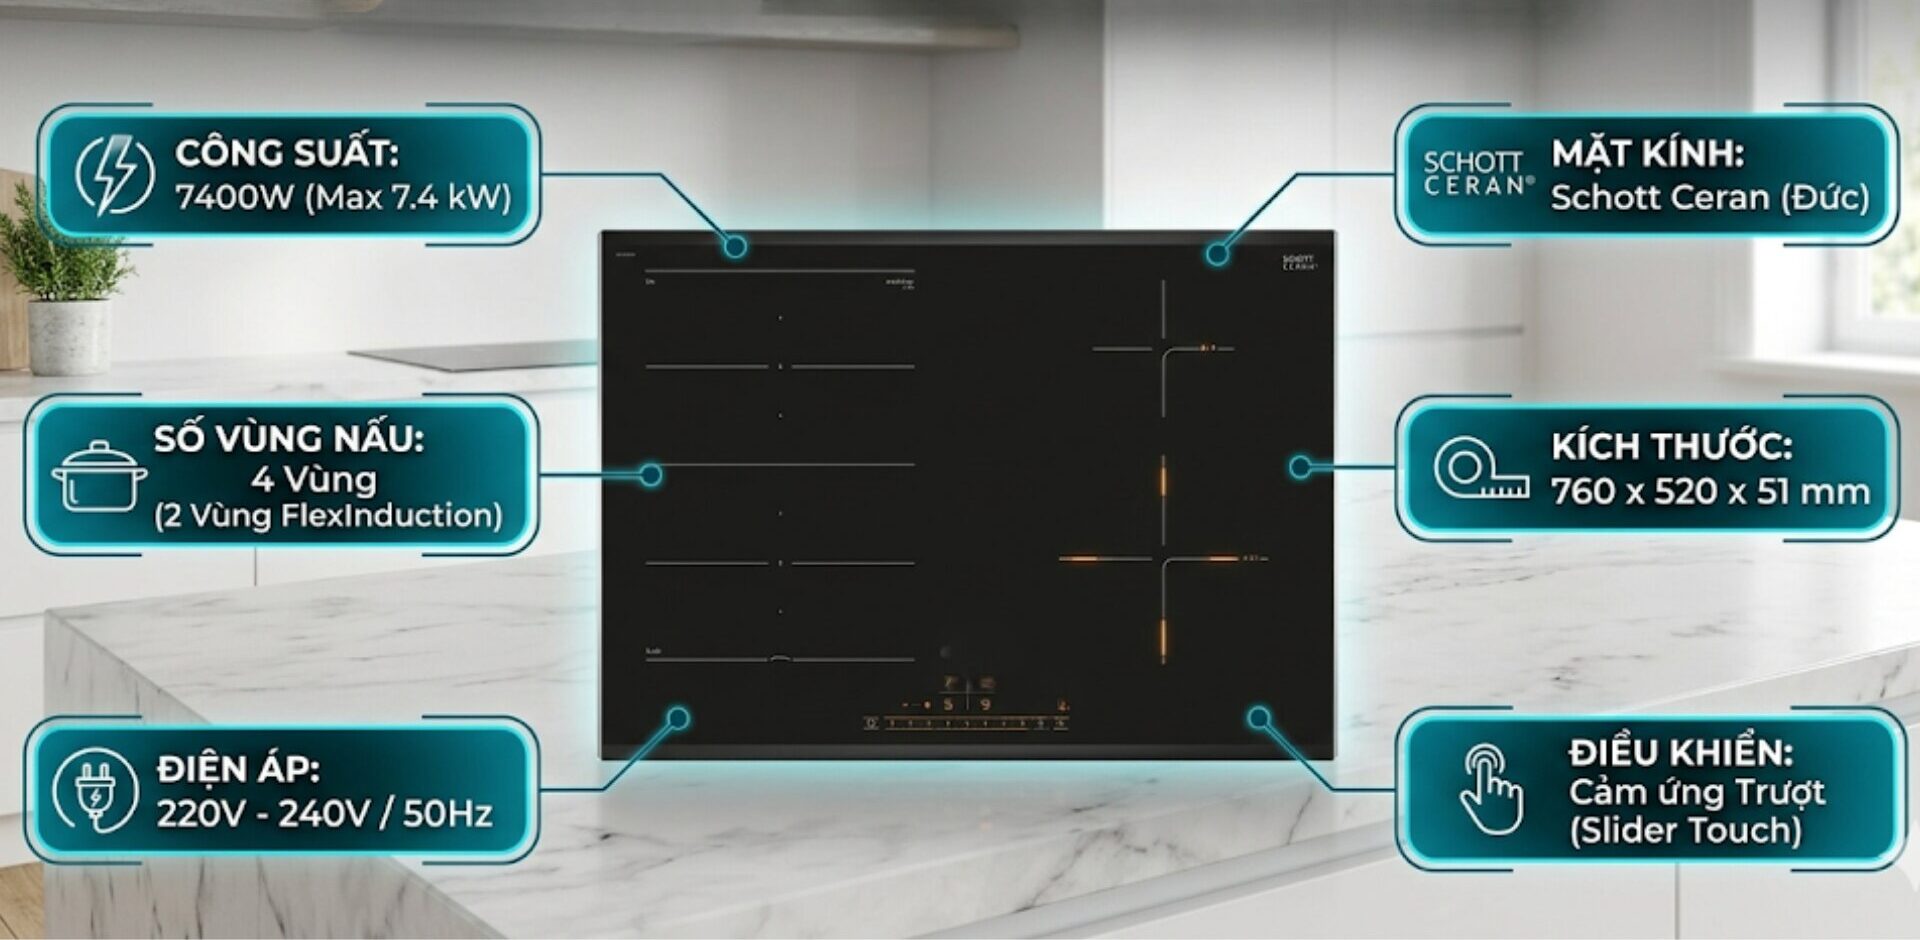
E1 error on induction cooktop often appears unexpectedly while cooking, causing many users to worry that this is a sign of serious damage. However, in reality, E1 is mostly a smart self-protection mechanism of the device. Understanding the causes and the process of handling the E1 error not only helps you fix the issue in just a few minutes but also extends the lifespan of the electronic components inside the cooktop.
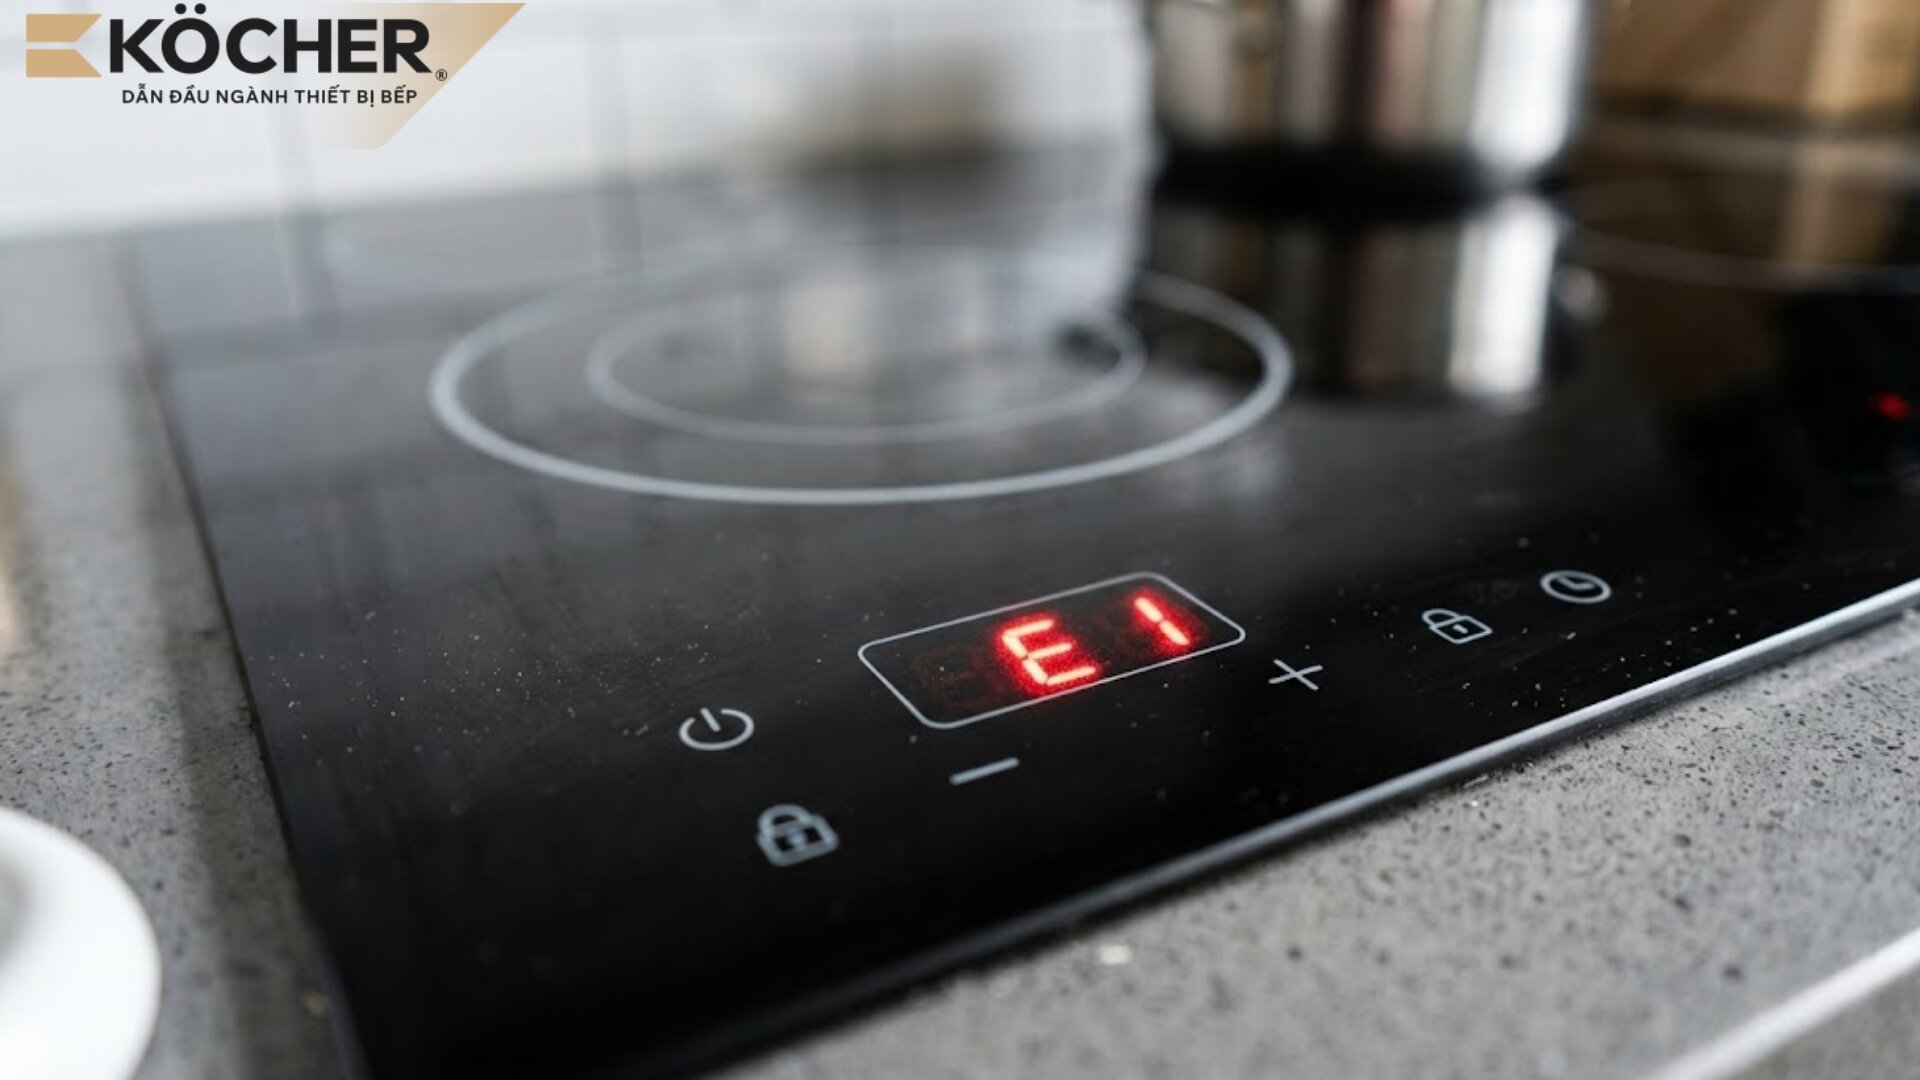
What is E1 on an induction cooktop? Is E1 an error or a protection mechanism of the cooktop?
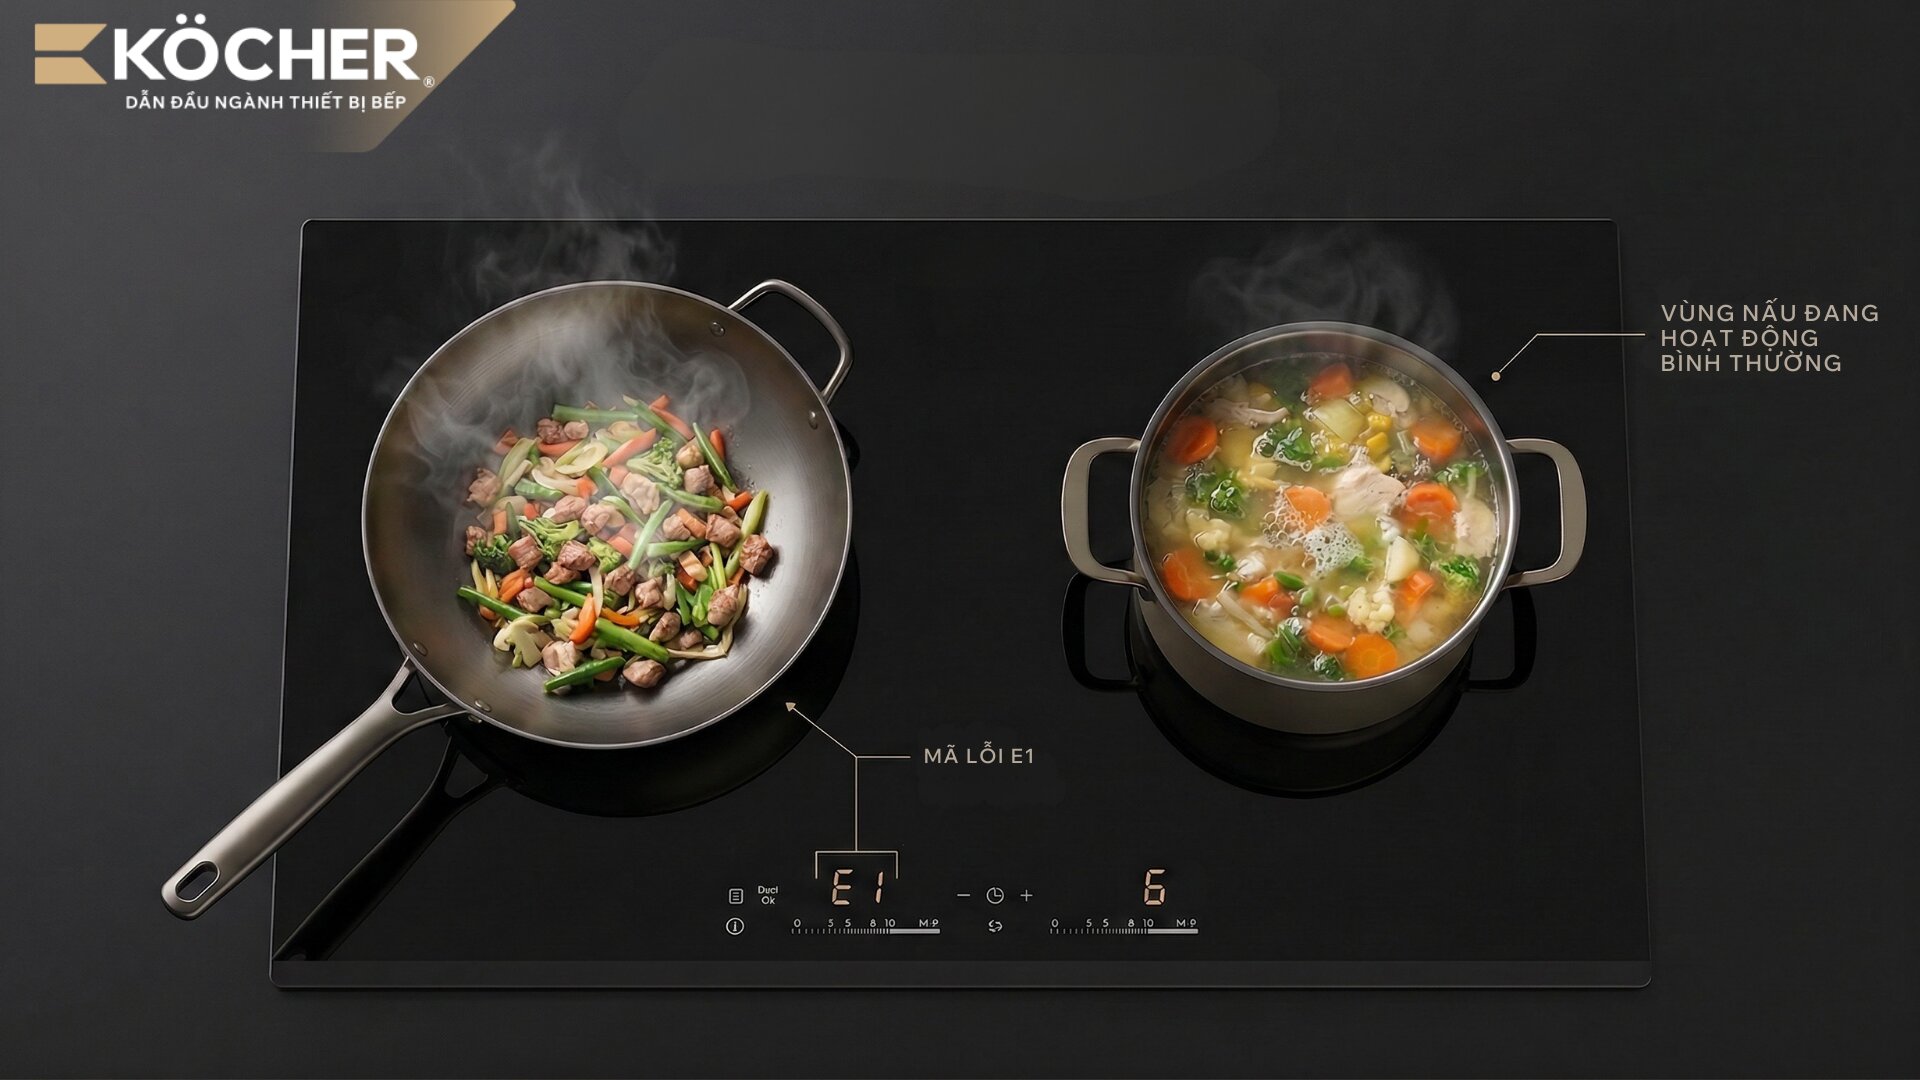
The E1 error on the induction cooktop indicates that the cooktop is overheating due to prolonged cooking. When the temperature at the cooking zone or the internal components exceeds the allowed safety threshold, the control system will automatically cut off the heating to prevent the risk of fire or explosion. This error is usually accompanied by a prolonged beep and the LED screen displaying the code “E1”.
The E1 error notification is a safety feature to protect the internal components, especially the induction coil system. All modern induction cooktops are equipped with a temperature sensor located at the center of the induction coil; when a sudden temperature rise is detected, the sensor will command a power cut to prevent the risk of fire or explosion.
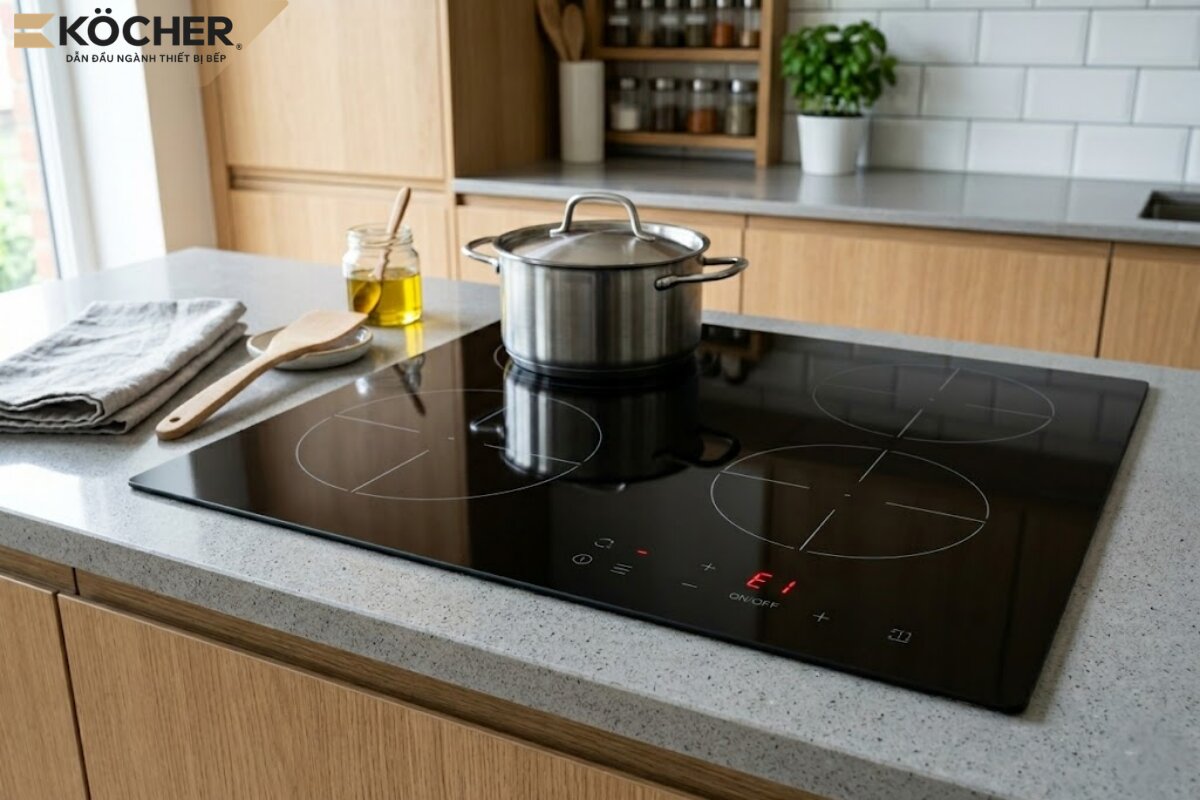
4 common causes of E1 error on induction cooktops
Identifying the correct cause will help you have an accurate handling direction, avoiding the hassle of incorrect repairs that may cause further damage.
Cooking at maximum power for too long
Forcing the cooktop to operate at its highest power continuously for a long time is the most common cause of the E1 error notification.
- Signs: The cooktop is operating normally but suddenly cuts off power, the LED screen flashes the letter E1, and the glass surface of the cooking zone radiates intense heat.
- Cause: When cooking at high power continuously, the temperature of the glass surface or induction coil exceeds the threshold; at this point, the sensor system will send a signal to the microcontroller to cut off power immediately. This mechanism helps prevent overheating that could crack the glass surface or deform sensitive electronic components on the circuit board.
The cooling fan system is stuck, dirty, or not venting
The cooling fan plays a role in maintaining stable temperatures for the internal components; if the airflow is blocked, the accumulated heat will cause the cooktop to report an error.
- Signs: The cooling fan is loud, makes a buzzing sound, or does not spin; the cooktop often reports the E1 error just 5 – 10 minutes after starting to use.
- Cause: Dust accumulation can cause the fan shaft to get stuck, or the design of the kitchen cabinet may be too tight, causing hot air to get trapped and unable to escape. When the temperature inside the cooktop rises, the sensor sends an overheating signal to the control center to stop the cooktop, preventing the risk of electrical circuit fires due to components not being cooled in time. Besides the technical error codes, you should also pay attention to the functional symbols on the control panel; for example, when you see the cooktop displaying LO, this indicates that the child lock mode is active, not a system error, helping you avoid confusion during troubleshooting.
Faulty circuit components or sensor malfunction
Sometimes the E1 error does not originate from the user but from issues with the internal control components of the cooktop.
- Signs: The E1 error code appears immediately upon connecting to the power source or continuously displays even when the cooktop is completely cool.
- Cause: The temperature sensor may be aging, the circuit may be broken, or the control board may be damp, causing a short circuit or voltage signal deviation. When the microcontroller does not receive accurate feedback from the sensor to determine the actual temperature, it will activate the default safety mode, cutting off all operations and displaying the error code to protect the system.
Due to unstable power supply
Unstable input voltage, exceeding the allowed threshold, is also a factor that directly affects the protection system of the induction cooktop.
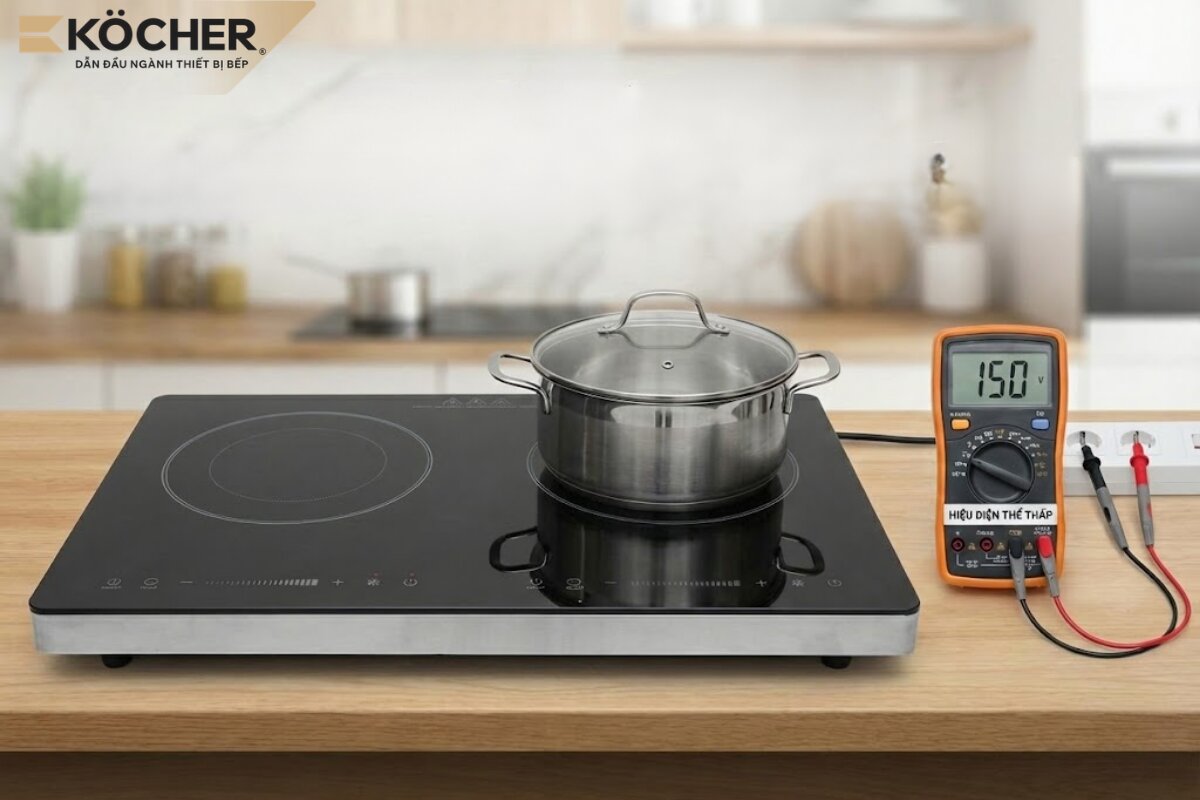
- Signs: The cooktop reports intermittent errors, often occurring during peak hours when the voltage drops (weak power) or in areas where the voltage frequently spikes above the load threshold (high voltage).
- Cause: During peak hours when the voltage drops (below 170V), the current passing through the IGBT and induction coil must increase sharply to maintain the set power level, generating a large amount of heat in a short time and causing the sensor to report overheating. Conversely, when the voltage suddenly rises above the safety threshold (usually above 240V – 260V), the device will immediately cut off or switch to warning E3 error to prevent overload current from damaging the power semiconductor components of the power circuit.
5 quick steps to fix E1 error on induction cooktop
When the screen displays E1, customers should follow the 5 steps below to fix the error:
- Step 1 – Turn off the cooktop but do not unplug: Press the power button (On/Off) to stop heating. You should keep the power on so that the cooling fan continues to operate, helping to cool the internal components more quickly.
- Step 2 – Remove the pot from the cooking zone: Removing the pot helps the glass surface dissipate heat more naturally, reducing thermal pressure on the sensor at the center of the cooking zone.
- Step 3 – Check the cooling system: Observe the area of the fan under the cooktop. Ensure that no objects are blocking or dust is accumulating in the air vent.
- Step 4 – Wait for the cooktop to rest (15 – 20 minutes): Allow the device time to rest for the temperature to return to a safe level.
- Step 5 – Restart: After the cooktop has cooled down, you can turn it on and continue cooking at an appropriate power level.
If after performing the above steps the cooktop still reports the E1 error during use, this may be due to a circuit board or sensor technical issue. You should contact an authorized service center for support in repairing or replacing the components.
See more: Causes and solutions for induction cooktops that run but do not heat
5 tips for using induction cooktops to minimize E1 errors
To ensure stable operation of the device and minimize E1 errors, you can apply the following usage tips:
- Ensure ventilation for the cooling system: Place the cooktop at least 5cm away from the wall, do not block the air vents/fans, and avoid placing it near high heat sources like ovens or refrigerators.
- Maintain regular cleaning habits: You should regularly clean the air vent area with a mini vacuum or dry cloth to ensure the fan blades are not obstructed, maintaining optimal cooling performance for the circuit board.
- Select and use standard cookware: Only use pots and pans with flat, thick magnetic bases that are compatible with induction cooktops. This helps maximize the absorption of induction current and distribute it evenly, avoiding heat loss or localized heating on the glass surface.
- Take breaks when cooking for long periods: Limit maintaining maximum power continuously for many hours. If you need to cook multiple high-temperature dishes continuously, allow the cooktop to rest for about 5 – 10 minutes between dish transitions to reduce heat accumulation.
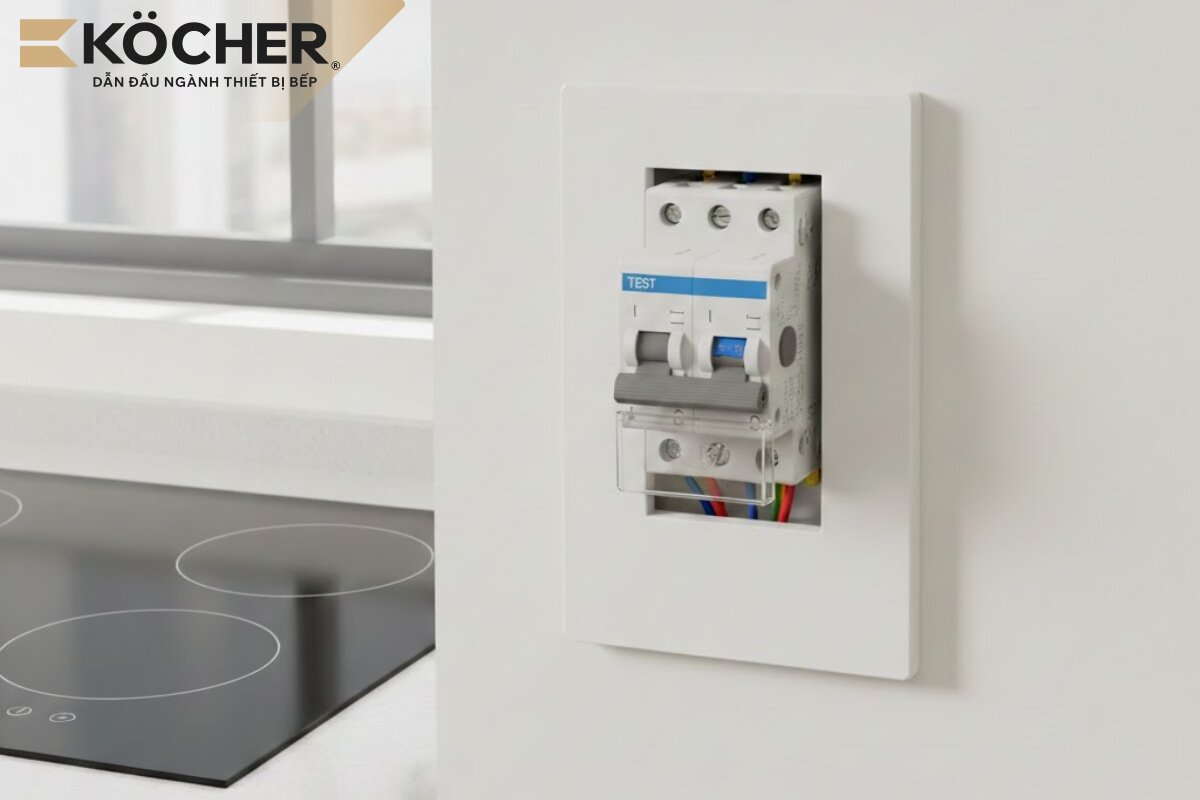
- Ensure stability of the input power supply: Use a separate socket and circuit breaker for the induction cooktop to ensure safety for users and the device, avoiding short circuits or fires due to electrical overload. If the area you live in has unstable power supply, consider using a voltage stabilizer to maintain stable voltage, ensuring safety for the microchip system.
Frequently asked questions about E1 error on induction cooktops
During the process of understanding the E1 error, users often have specific concerns when troubleshooting this issue. Below are answers to common user questions.
Should I unplug the power immediately when I see the E1 error?
You should not unplug the power immediately when you see the E1 error. Unplugging immediately will stop the cooling fan from operating, causing the accumulated heat inside the components not to be pushed out, which may reduce the lifespan of the capacitor and power board.
What is the cost to repair E1 error due to circuit damage?
If it is due to a sensor error or circuit board component, the repair cost usually ranges from 200,000 VND to 900,000 VND depending on the type of cooktop and genuine replacement components.
What should I do if the E1 error displays continuously?
If the cooktop has rested for a long time but still reports E1 when turned back on, the temperature sensor may be faulty or the circuit board may have hardware issues. You should completely cut off the power and immediately contact the warranty center or a professional technician for inspection with specialized equipment.
Apart from E1, what other errors can induction cooktops have?
In addition to the E1 overheating error, induction cooktops also have other common error codes such as:
- Error E0: This error usually occurs when the cooktop cannot detect the pot (no pot or the bottom does not attract magnets). The solution is to use cookware specifically designed for induction cooktops, with a magnetic base.
- Error E2: This error is due to the input power being too high (above 250V) or because there is no food in the pot. To thoroughly address the E2 error, you need to quickly add food to the pot or use a specialized voltage stabilizer.
- Error E3: This error is usually due to weak power supply (below 170V). You need to turn off unnecessary electrical devices; if the power supply frequently drops, you need to use a voltage stabilizer for the induction cooktop.
In some high-end models, the system may also display the code E4 error to indicate that the temperature sensor of the pot is malfunctioning or the voltage supplied to the auxiliary circuit is interrupted, requiring inspection by a specialized technician.
Hopefully, the information above has helped you understand the E1 error on induction cooktops as well as quick handling methods to avoid interrupting family meals. Mastering the causes and proper usage tips not only helps you proactively troubleshoot issues but also serves as a sustainable solution to protect the component system, maintaining optimal cooking performance for the device.
Are you worried about the E1 error or the cooktop shutting off due to overheating? Check out Köcher’s products. With a foundation of German standard components, especially high-load power cords that reduce 80% of arising errors, and a thick heat sink fan system, Köcher induction cooktops operate stably, eliminating the worry of E1 errors for your family.
| Köcher induction cooktops pioneer German technology
For detailed product information, please contact:
|