Induction hob buttons are types of touch or mechanical buttons used to control functions such as On/Off, increase/decrease temperature, safety lock (Lock), and cooking modes (Boost, Keep Warm). In this article, you will find a compilation of common buttons, the meaning of each frequently encountered symbol, and how to choose a hob with a sensitive, durable control panel that suits daily usage needs.
Classification of common induction hob buttons today
The buttons on induction hobs today are divided into two main groups based on their operating mechanism: Mechanical buttons and Touch buttons. Each type will provide a different user experience.
Mechanical push-button induction hob
This type of control panel uses a physical mechanism to activate the functions of the hob:
- Electronic push button: Provides accurate feedback thanks to a distinct pressing feel, has high mechanical durability, and relatively low replacement costs. However, the design has gaps that allow grease to accumulate, making cleaning difficult. This type is often equipped on single induction hobs or common double hob segments.
- Knob: Allows for intuitive and quick power adjustment, but cleaning the area around the knob can be quite complicated. Therefore, this design mainly appears on industrial induction hobs or classic-style induction hobs.
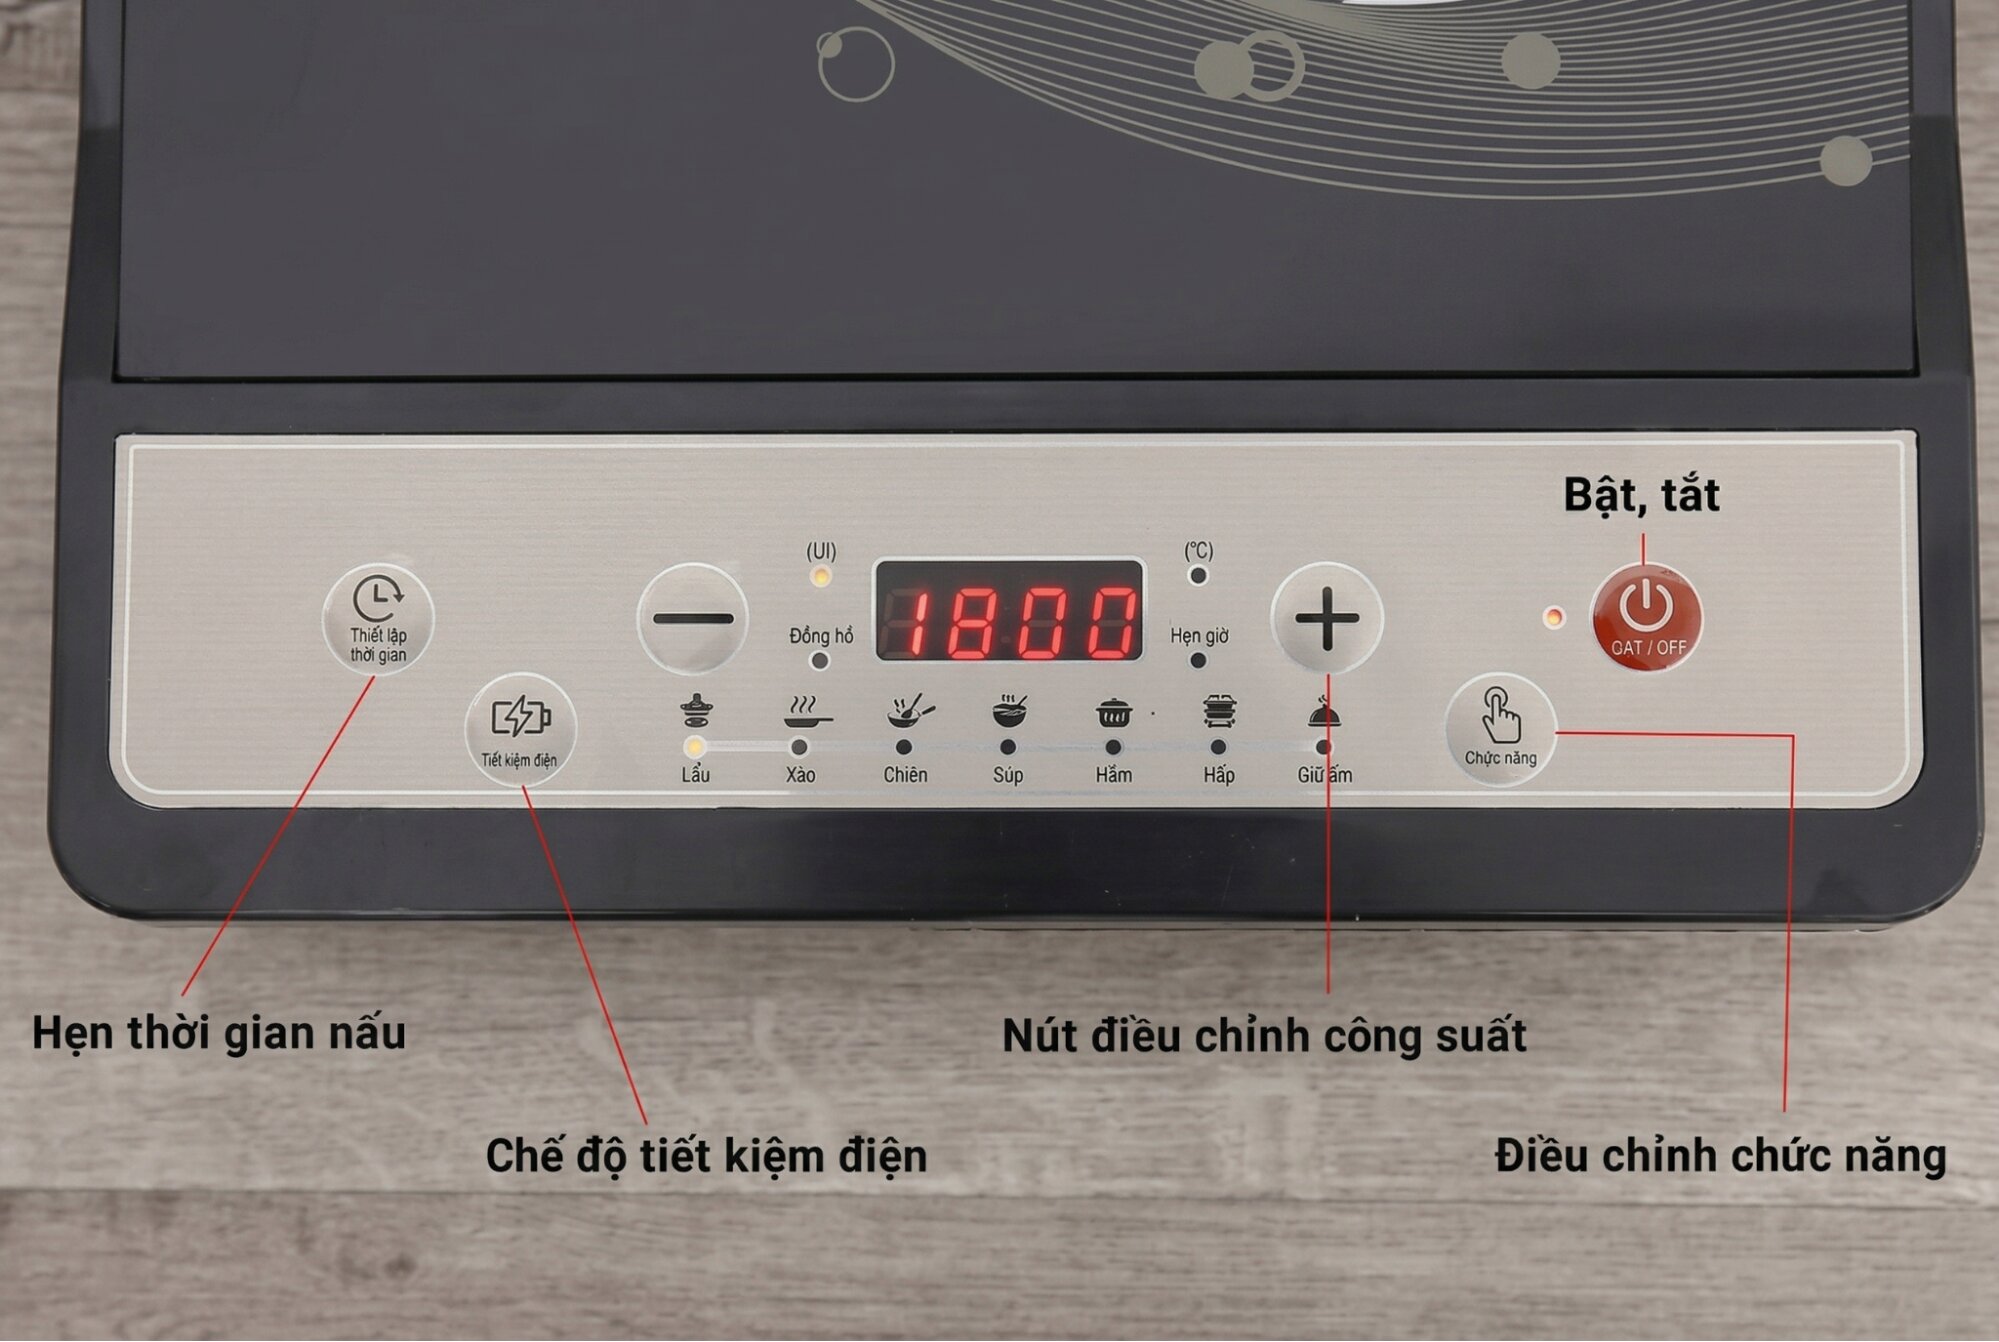
Single-point touch induction hob button
Touch buttons use capacitive sensors to detect light touch actions from the user. This type of button helps create a flat, seamless glass design, high aesthetic appeal, and easy cleaning after cooking. However, this type of button may be less responsive when hands are wet or when water is on the glass surface and requires some getting used to for accurate operation. This is a suitable choice for most families and is commonly found on single and mid-range double induction hobs.
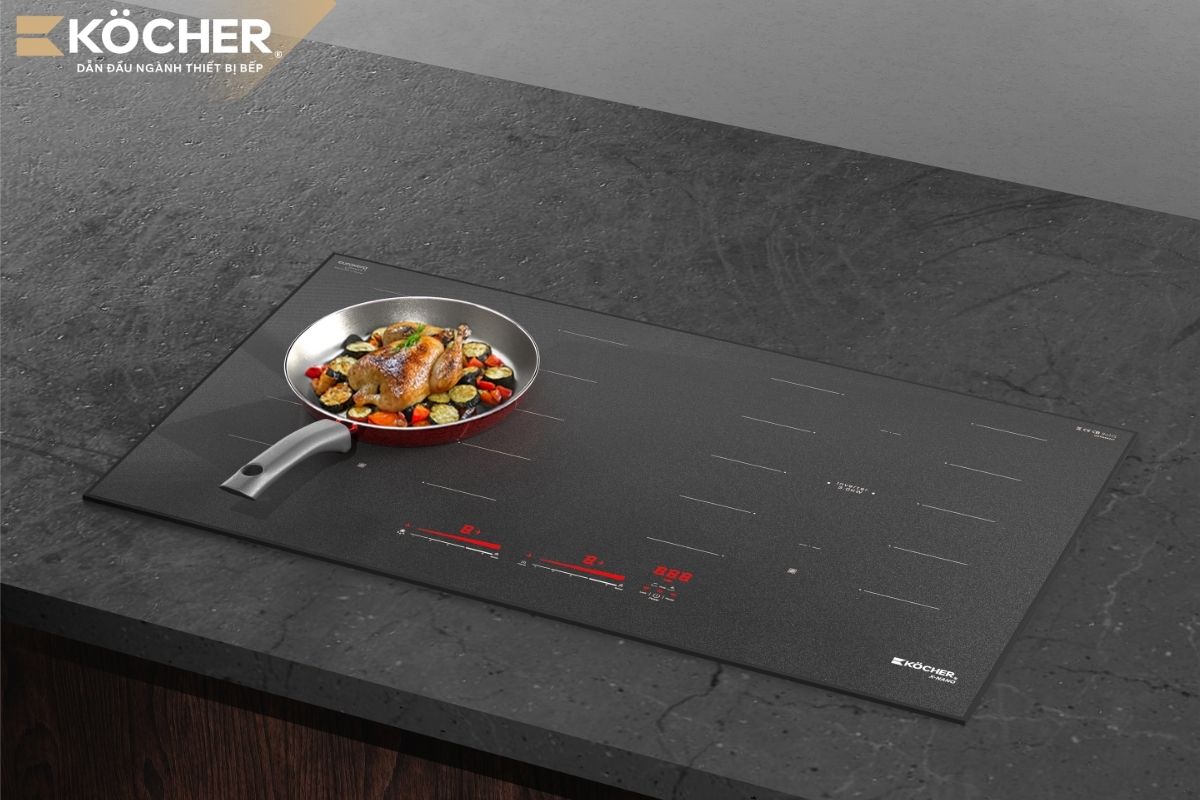 Induction hob buttons designed with a sliding touch
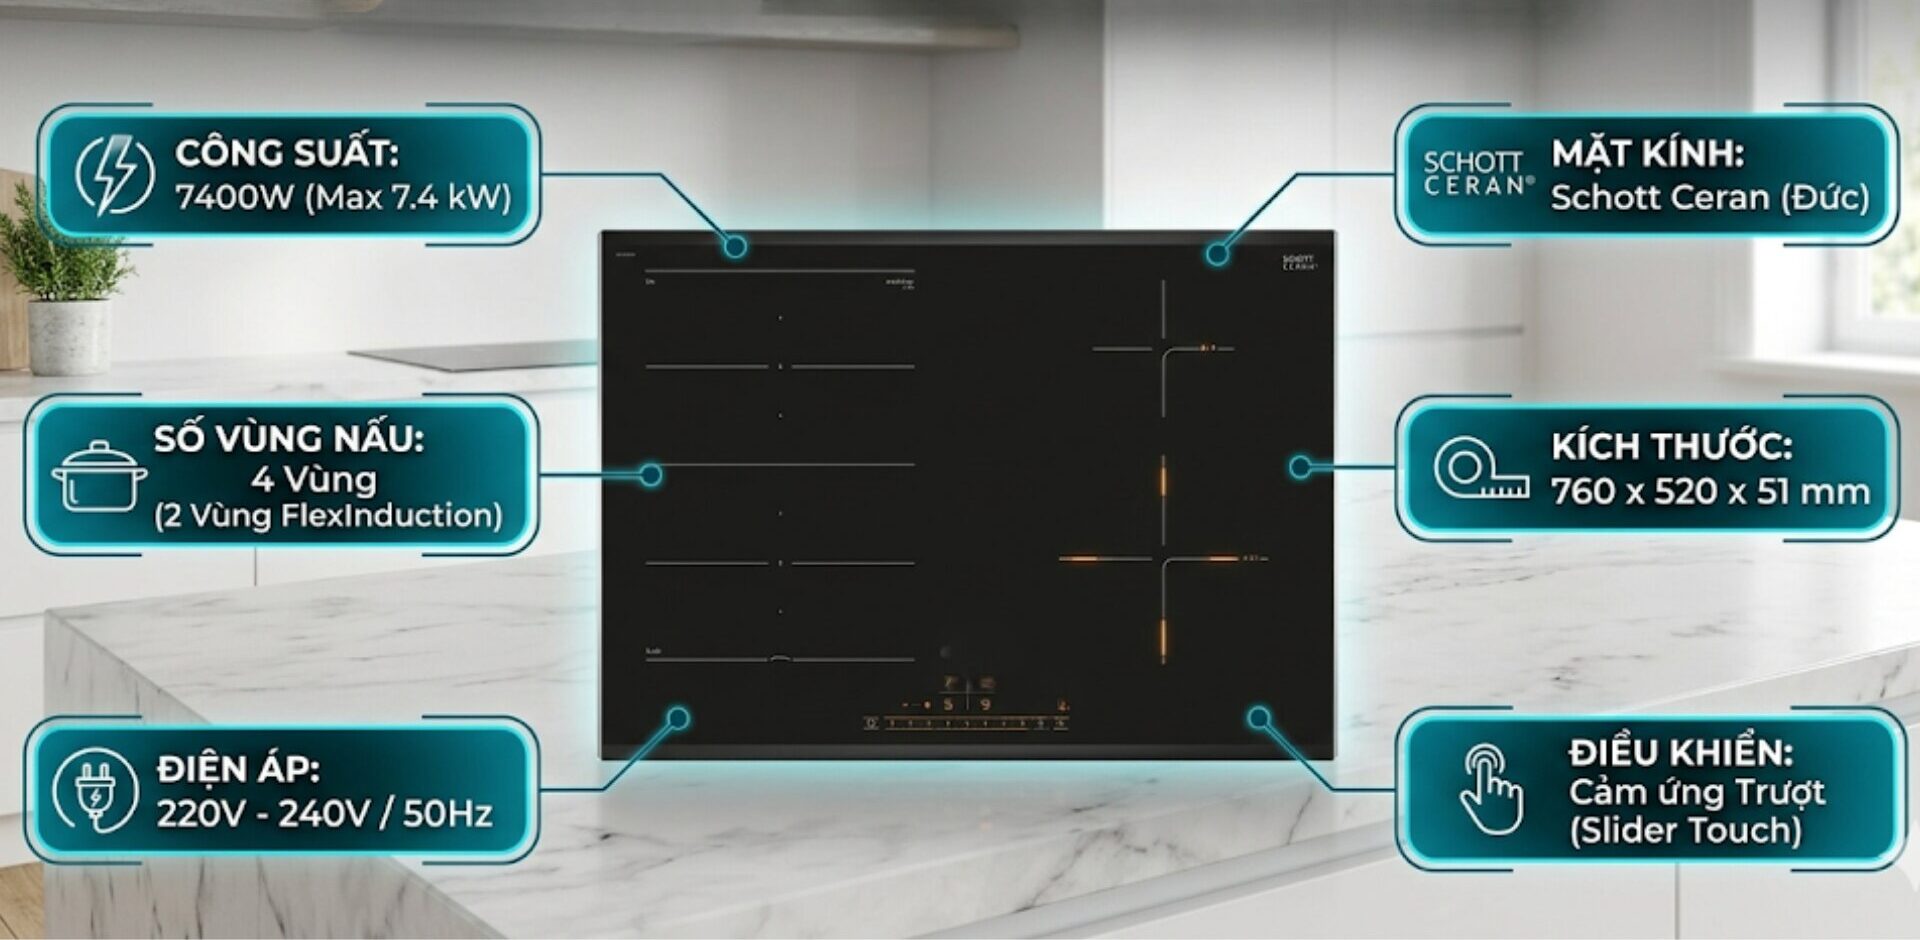
| In addition, there are two other types of touch buttons: sliding touch (Slider Control) and combined touch. The sliding touch allows users to adjust power with a quick swipe, enabling more flexible and precise temperature changes. Meanwhile, the combined touch integrates multiple control forms on the same hob, providing a more convenient and intuitive experience, mainly applied to ultra-luxury hobs. |
Summary of common induction hob button symbols
To operate the induction hob effectively and fully utilize its smart features, users need to understand the meanings of the control symbols. Correctly identifying the induction hob symbols will not only help you cook more professionally but also avoid mistakes that could lead to machine errors. Knowing How to turn on the induction hob and understanding the list of common symbols below will help you optimize the use of the device daily:
| Button Name | Function | Illustration |
| Power (ON/OFF) | Start or completely turn off the hob’s operation. |  |
| Increase / Decrease (+ / -) | Adjust to increase or decrease the power level and cooking time. |   |
| Pause | Pause the cooking process and keep the settings to continue later. |  |
| Booster | Instantly push the power to the maximum level for quick boiling. |  |
| Timer | Set the time for the hob to turn off automatically, helping to manage cooking. |  |
| Lock | Disable the control panel to prevent children from tampering or accidental touches. |  |
| Select left/right cooking zone | Select the cooking zone on the right/left |  |
| Function | Select buttons on the control panel |  |
| Fry | Special mode helps control the oil temperature steadily when frying. |  |
| Warm | Maintain a stable low temperature to keep food hot without burning. |  |
| Hotpot | Activate the hotpot cooking mode |  |
| Soup | Activate the function to cook soups |  |
| Inverter | Activate the energy-saving mode for the induction hob |  |
| Milk | Select the milk warming mode |  |
| Pressure cooking | Simulate cooking mode like a pressure cooker |  |
| Rice | Activate the rice cooking mode |  |
Common issues with buttons on induction hobs and how to troubleshoot at home
Control buttons may malfunction due to dirt, humidity, or internal component faults. Correctly identifying the cause will help you resolve issues quickly and effectively.
Button not responding
This state occurs when the control panel does not receive commands from the user’s finger.
- Signs: Pressing the button but no sound signal, lights not on, hob does not execute the command. The phenomenon of the induction hob receiving power but not turning on is very common and causes concern for many cooks when preparing meals.
- Causes: A layer of grease or water on the glass surface disrupts the capacitive signal, preventing the sensor from detecting the action from the finger. Additionally, fluctuations in grid voltage or excessively high temperatures can temporarily freeze the microprocessor (CPU), leading to the control panel being disabled.
- How to fix: Wipe the hob surface and your hands dry. Turn off the power/circuit breaker for about 5 minutes to allow the system to restart (reset).
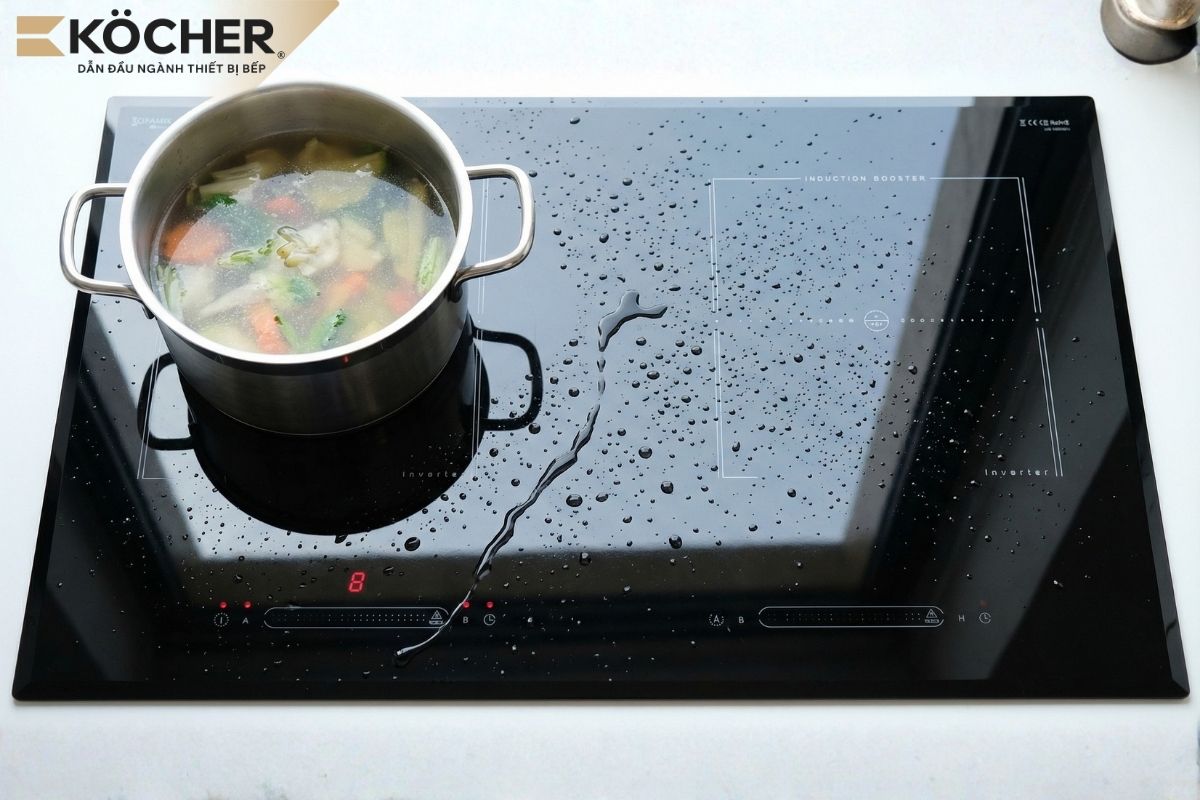 Water accumulation on the glass surface disrupts the signal
Hob control panel locked
This is a safety feature that prevents accidental touches from changing cooking settings.
- Signs: The screen shows the letter “L” or a lock icon, and other buttons cannot be pressed.
- Causes: The child lock mode was accidentally activated while cooking or cleaning the hob without your knowledge.
- How to fix: Press and hold the lock icon (or Lock button) for 3 to 5 seconds to unlock the control panel.
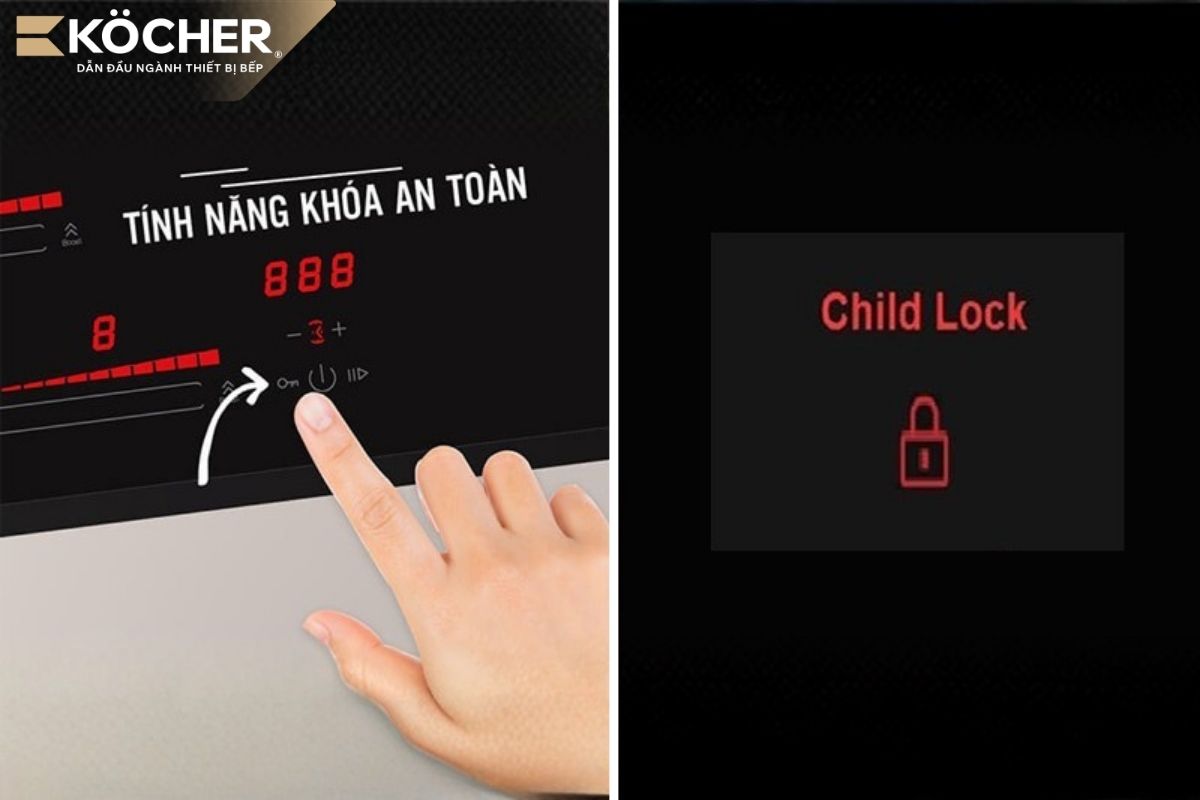 Press and hold the lock icon for 3 – 5 seconds to disable the safety lock mode
Button stuck or malfunctioning
This error arises from damaged contacts or short circuits in the internal control system.
- Signs: Some buttons do not respond or the hob automatically switches functions, changing power levels without anyone touching it.
- Causes: For mechanical buttons, the spring system underneath may be rusted or jammed after prolonged use. For touch buttons, the control panel may be damp or waterlogged, the touch membrane may be damaged due to impact; the control board may experience voltage issues or components may degrade.
- How to fix: Temporarily disconnect the power and dry clean the surface of the control panel. Since this issue is directly related to internal components, you should contact a professional technician to check the circuit board or replace the buttons to ensure safety and durability for the hob.
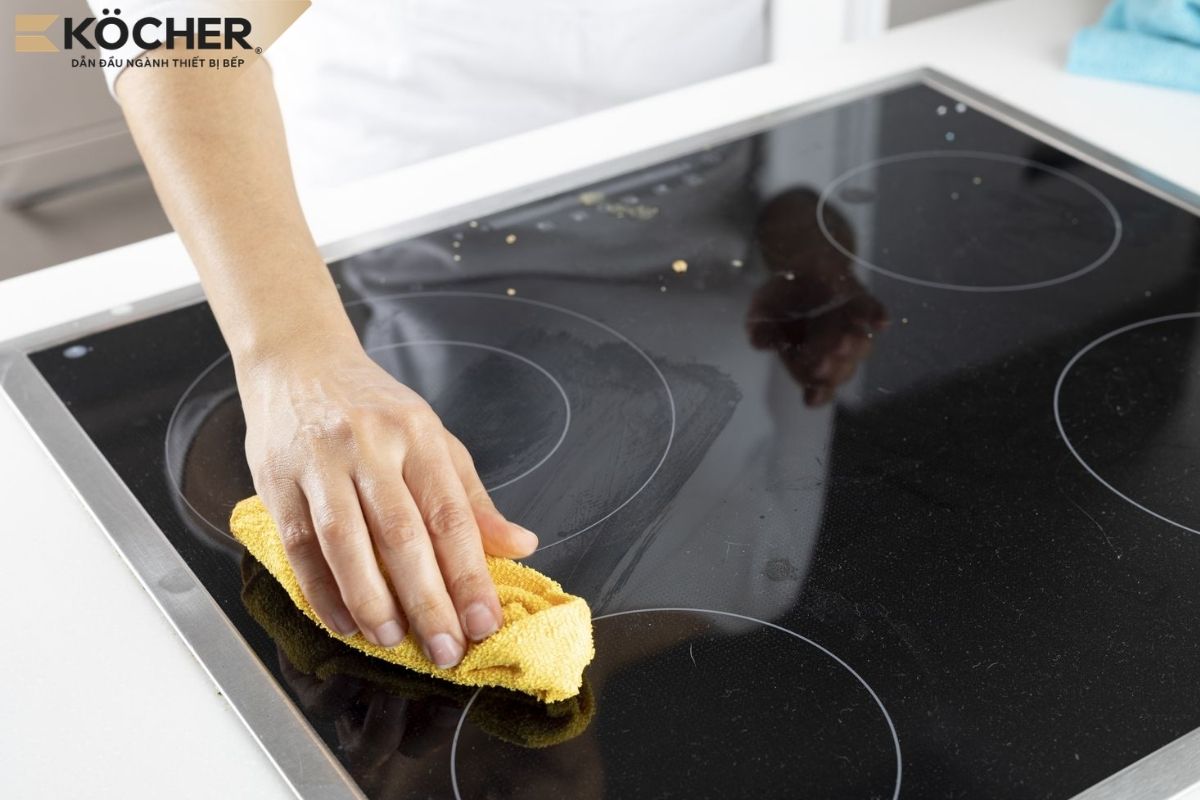 Turn off the hob and dry the hob surface
Button signals but the hob does not operate
This is a coordination error where the command has been received but the hob does not generate heat to warm the food.
- Signs: The hob still receives button presses (beeping, showing temperature level) but the pot does not heat up or shows an error (E0, E1…).
- Causes: Using a pot without a magnetic base or the pot’s base size is incompatible (usually under 12cm) with the induction zone, causing the sensor not to detect it. Additionally, the error may stem from a faulty temperature sensor in the induction coil or the power component (IGBT) being interrupted by a protection circuit.
- How to fix: Check the pot with a magnet to ensure it has a magnetic base. If the pot is correct but the hob still does not heat, contact a technician to check the internal components.
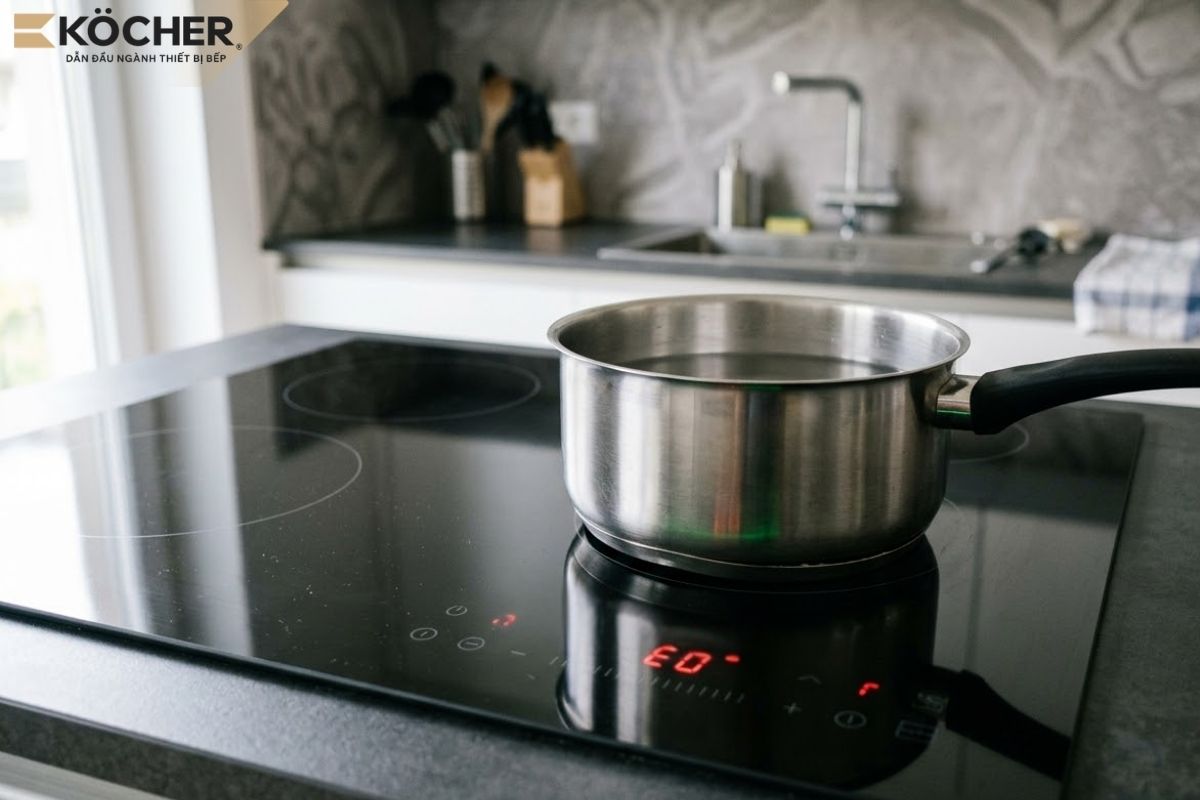 Using an incompatible pot causes the hob to light up but not heat
Important notes for long-lasting use of induction hob buttons
You should follow some notes below when using induction hob buttons to ensure sensitivity for the control panel and help the buttons last longer:
- Keep hands dry: This helps the touch buttons not to be disrupted by capacitive interference, while also preventing water from seeping through the mechanical button gaps, causing rust on contacts or short circuits inside, keeping the control panel responsive and durable.
- Avoid placing hot pots on the button area: Underneath the glass surface of the control area are sensitive processing chips and electronic components. Direct heat from the bottom of the pot can reduce the durability of components, causing circuit damage or dimming the display.
- Regular cleaning with specialized solutions: Grease and dirt accumulation on the glass surface will create a barrier, reducing the ability to transmit touch signals. Properly applying How to clean the induction hob regularly helps maintain accuracy during operation and protects the glass surface’s lifespan.
- Touch gently: Unlike mechanical buttons, touch buttons only need a light touch to activate. Applying strong force does not increase sensitivity but may affect the durability of the glass surface and the sensor system.
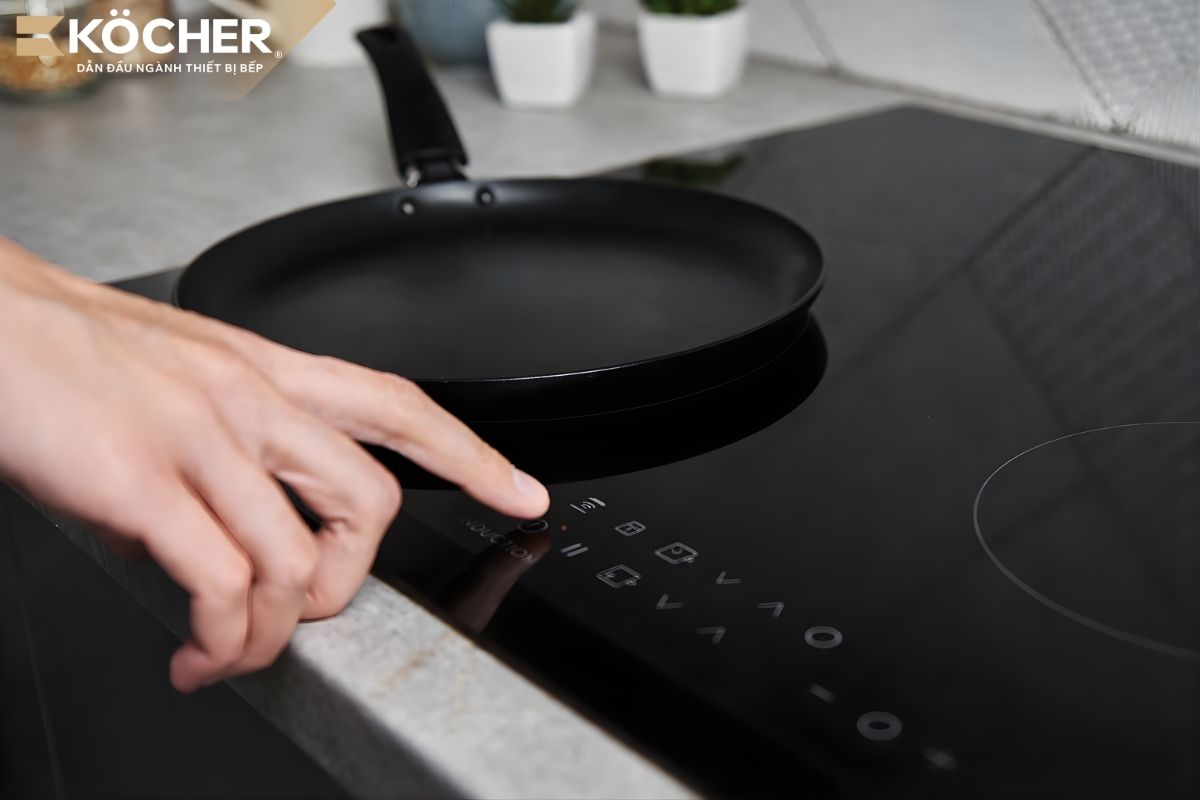 Touch buttons operate on the principle of capacitance, so you only need to touch lightly, do not press hard
Experience in choosing an induction hob with a quality control panel
Choosing a hob with a good control system not only makes it easier for you to operate but also minimizes the risk of electronic circuit failures later on. When purchasing an induction hob for your family, you can refer to some experiences below:
- High-quality control board: A high-quality control board from reputable manufacturers (such as E.G.O from Germany) ensures the control panel responds instantly and maintains stable sensitivity.
- High-end glass: Quality glass lines such as Schott Ceran (Germany) or EuroKera (France) have extremely high crystal uniformity, helping to transmit capacitive signals from the finger to the sensor below as accurately as possible. Especially, a scratch-resistant glass surface will help maintain the sensitivity of the buttons over time, as deep scratches can disrupt touch signals.
- Test sensitivity in real conditions: When buying a hob, you should test the operation with slightly damp hands or quickly swipe the Slider. A quality control system must have extremely fast response speed of the processing IC and still recognize commands even when the glass surface is not completely dry.
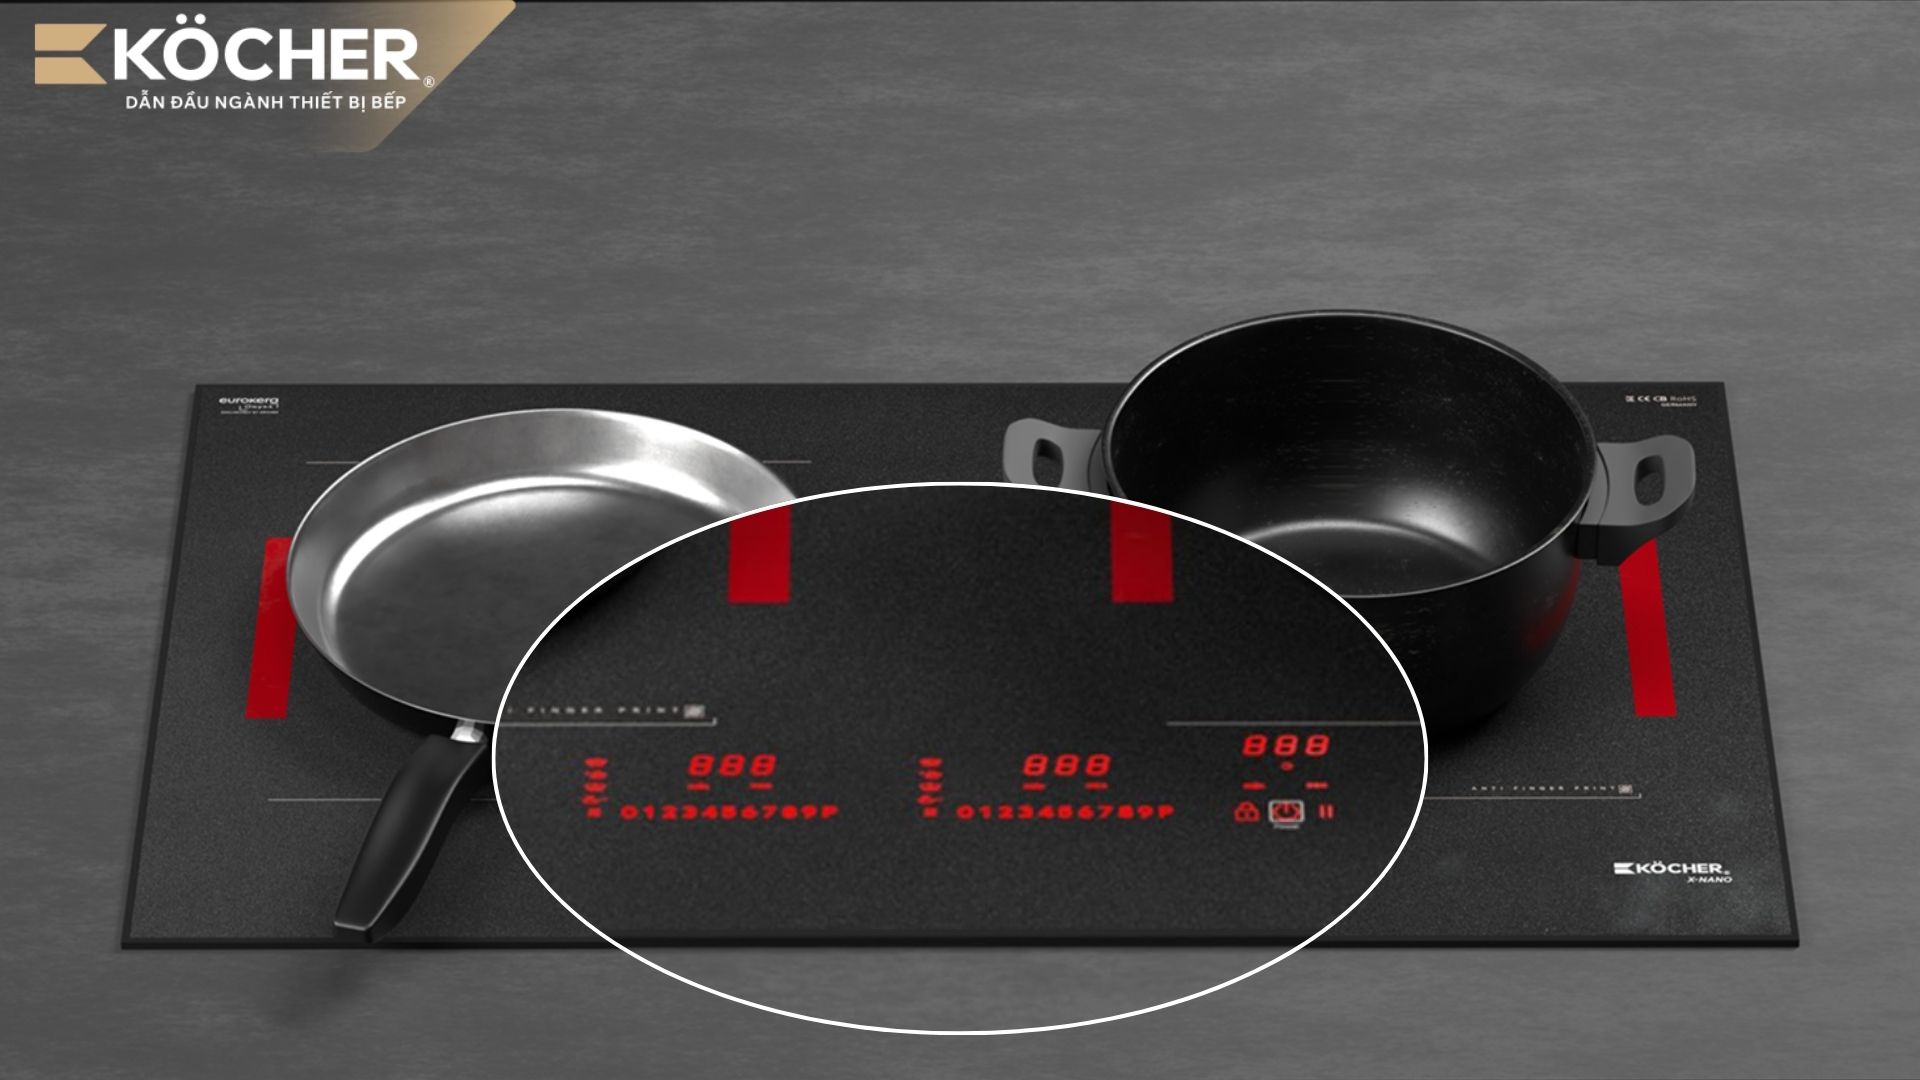
- Independent control panel design: You should prioritize choosing hobs with separate control panels for each cooking zone instead of using a common control panel. This design allows for quicker operation without needing to select the cooking zone first, and if one side of the circuit board encounters an issue, the other cooking zones can still operate normally.
Hopefully, the information about the types and symbols of induction hob buttons, along with the causes and solutions for common errors will help you use the hob more effectively. Understanding the control panel not only makes operation easier but also contributes to increasing the durability and stability of the device. If you are looking for an induction hob with sensitive, durable, and easy-to-use buttons, don’t forget to consider the criteria shared to choose the most suitable product.
If you are looking for a hob that is easy to use and durable over time, you can refer to Köcher induction hobs to choose a product that meets your actual needs.
|
Köcher induction hobs pioneer German technology – For detailed product information, please contact:
|